Sharp Carousel R-1514 설치 지침 매뉴얼 - 페이지 11

{카테고리_이름} Sharp Carousel R-1514에 대한 설치 지침 매뉴얼을 온라인으로 검색하거나 PDF를 다운로드하세요. Sharp Carousel R-1514 40 페이지. Over the range stainless
Sharp Carousel R-1514에 대해서도 마찬가지입니다: 브로셔 및 사양 (8 페이지), 요리 매뉴얼 (32 페이지), 브로셔 및 사양 (5 페이지), 설치 지침 매뉴얼 (9 페이지), 사양 (2 페이지), 추가 서비스 매뉴얼 (33 페이지), 요리 매뉴얼 (32 페이지), 매뉴얼 (40 페이지), 추가 서비스 매뉴얼 (33 페이지)
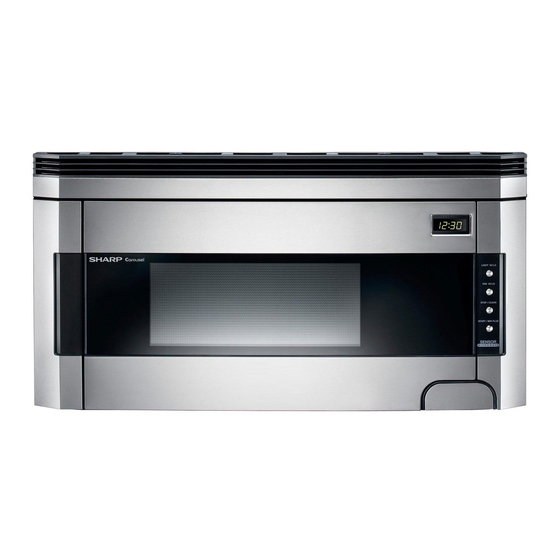
Sharp Carousel R-1514 설치 지침 매뉴얼
U N P A C K I N G A N D I N S T A L L A T I O N I N S T R U C T I O N S
(C) VERTICAL EXHAUST: OUTSIDE VENTILATION
1. Remove and save 2 screws from back edge and 3 screws from the top center of the Fan Cover Bracket.
Remove Fan Cover Bracket by sliding it in the opposite direction of the arrow on the Fan Cover Bracket as
shown in Figure 11.
2. Lift Hood Fan Unit carefully and slip wires out of cavity. See Figure 12. CAUTION: Do not pull or stretch hood fan
wiring.
3. Rotate the Hood Fan Unit 90˚ so that the fan blade openings are facing the top of the oven. See Figure 13 (A).
Replace Hood Fan Unit into the oven. Be careful not to pinch the lead wire between the inner bracket and the
Hood Fan Unit. Put the lead wire into Wire Box. See Figure 13 (B).
4. Replace the Fan Cover Bracket by sliding it into the slits in the same direction as the arrow on the Fan Cover
Bracket. Make sure the fan blades are visible through the top openings in the oven before proceeding.
5. Attach the Fan Cover Bracket to unit with the 2 screws from back edge and 3 screws from the top center of the
Fan Cover Bracket, which were removed in Step 1 above. See Figure 14. The Hood Fan Unit is now rotated for
vertical exhaust operation.
6. Attach the Exhaust Damper Assembly 9 to the fan cover on the top of the outercase cabinet by sliding it into
the slits in the same direction as the arrow. Use 1 Tapping Screw 4 X12 mm 5 from the INSTALLATION
HARDWARE and tighten into place. See Figure 15.
Figure 11
Figure 13
(A) Rotate 90˚
(B)
Figure 15
Figure 12
Figure 14
Exhaust Damper Assembly
11