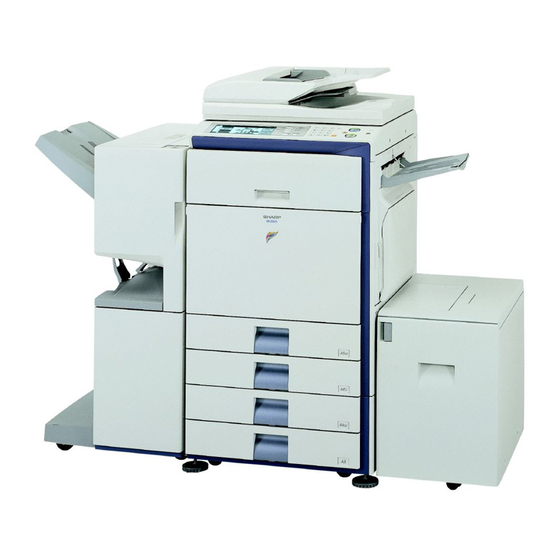
Sharp MX-2300N Guide 문서 제출 매뉴얼 - 페이지 19
{카테고리_이름} Sharp MX-2300N Guide에 대한 문서 제출 매뉴얼을 온라인으로 검색하거나 PDF를 다운로드하세요. Sharp MX-2300N Guide 47 페이지. Sharp mx-2700n, mx-2300n mfp - scan to e-mail instructions
Sharp MX-2300N Guide에 대해서도 마찬가지입니다: 사양 (2 페이지), 문제 해결 매뉴얼 (44 페이지), 안전 매뉴얼 (28 페이지), 스캔하여 이메일 지침 (7 페이지), 소프트웨어 설정 매뉴얼 (48 페이지)

DOCUMENT
2
FILING
File Store
Scan to HDD
3
Mono2/Auto
Colour Mode
Job Detail
Settings
Auto
A4
Original
(1)
4
If the original is 2-sided, be sure to touch the [Original] key and then touch the [2-Sided Booklet] key or the [2-Sided
Tablet] key as appropriate for the original.
5
To cancel scanning...
Press the [STOP] key (
HDD Status
Search
File Retrieve
File
Folder
Quick File
Folder
External Data
Access
Back
Special Modes
File
Information
(2)
(3)
or
).
Press the [DOCUMENT FILING] key.
Touch the [Scan to HDD] key.
Select Scan to HDD settings.
If you do not wish to select settings, go to the next step.
(1) Select the colour mode, job detail settings,
and the original size.
See
"ORIGINAL SETTINGS FOR "Scan to
19).
(2) Touch the [Special Modes] key.
See
"Special modes screen for Scan to
(3) Touch the [File Information] key.
The settings are the same as for "File". See
INFORMATION" (page 15).
Press the [COLOUR START] key
(
) or the [BLACK & WHITE
START] key (
Scanning begins.
• If you inserted the original pages in the document feeder
tray, all pages are scanned.
A beep will sound to indicate that Scan to HDD is completed.
• If you placed the original on the document glass, scan each
page one page at a time.
When scanning of one page finishes, replace it with the next
page and press the [START] key.
Repeat until all pages have been scanned and then press
the [Read-End] key.
A beep will sound to indicate that Scan to HDD is completed.
18
HDD"" (page
HDD" (page 21).
"FILE
).
