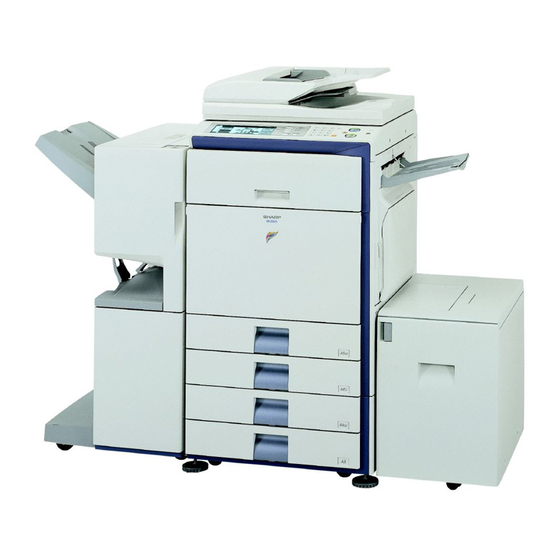
Sharp MX-2300N Guide 문서 제출 매뉴얼 - 페이지 30
{카테고리_이름} Sharp MX-2300N Guide에 대한 문서 제출 매뉴얼을 온라인으로 검색하거나 PDF를 다운로드하세요. Sharp MX-2300N Guide 47 페이지. Sharp mx-2700n, mx-2300n mfp - scan to e-mail instructions
Sharp MX-2300N Guide에 대해서도 마찬가지입니다: 사양 (2 페이지), 문제 해결 매뉴얼 (44 페이지), 안전 매뉴얼 (28 페이지), 스캔하여 이메일 지침 (7 페이지), 소프트웨어 설정 매뉴얼 (48 페이지)

Job Settings
file-01
Select the job.
5
Print
Move
Job Settings / Print
file-01
Auto
Paper Select
6
Output
2-Sided
Special Modes
• A file saved in black and white or greyscale cannot be printed in colour.
• A long-size scan to HDD or scan send job cannot be printed.
A long-size fax transmission job or Internet fax transmission job can be printed.
• When print settings are changed as explained above, only the number of copies is changed in the stored settings.
• The printing speed may be somewhat slow depending on the resolution and exposure mode settings of the saved file.
PRINT SETTINGS SCREEN
(1)
(2)
(3)
(4)
(1)
[Paper Select] key
Use this key to set the paper size.
(2)
[Output] key
Use this key to select Sort, Group or Staple Sort, and to
select the output tray.
(3)
[2-Sided] key
Use this key to select the orientation of the image on the
reverse side of the paper for 2-sided printing. To have the
front and back images oriented in the same direction,
touch the [2-Sided Booklet] key. To have the front and
back images oriented opposite to each other, touch the
[2-Sided Tablet] key. Note that the size and orientation of
the saved image may cause these keys to have the
opposite effect. If neither of these keys is selected
(neither is highlighted), 1-sided printing will take place.
A4
Name 1
Property
Send
Change
Delete
Detail
Name 1
A4
Number of Prints
(1 999)
Print and Delete the Data
1
Print and Save the Data
B/W Print
Job Settings / Print
file-01
Number of Prints
Auto
Paper Select
Output
2-Sided
Special Modes
Touch the [Print] key.
Cancel
F. Colour
Touch the [Print and Delete the Data] key
Cancel
or the [Print and Save the Data] key.
F. Colour
If the [Print and Delete the Data] key is touched, the file will be
deleted after printing.
If the [Print and Save the Data] key is touched, the file will be
saved after printing.
Output settings, two-sided printing, special modes, the number
of copies, and other settings can be selected. For more
information, see
Name 1
(1 999)
Print and Delete the Data
1
Print and Save the Data
B/W Print
(4)
[Special Modes] key
Touch this key to select "Margin Shift", "Pamphlet style",
"2in1 / 4in1", "Tandem Print", or the "Stamp".
This key does not appear if the file was saved from print
mode.
(5)
Use these keys to set the number of copies. The number
of copies can also be set with the numeric keys.
(6)
[Print and Delete the Data] key
Printing begins when this key is touched. When printing
is finished, the file will be automatically deleted.
(7)
[Print and Save the Data] key
Printing begins when this key is touched. The file will not
be deleted after printing.
(8)
[B/W Print] checkbox
Select this checkbox if the file was saved in colour and
you wish to print it in black and white.
When the file is saved in black and white, this checkbox
does not appear.
29
"PRINT SETTINGS
SCREEN" (below).
Cancel
A4
F. Colour
keys
(5)
(6)
(7)
(8)
