Sharp MX-2300N Guide 소프트웨어 설정 매뉴얼 - 페이지 26
{카테고리_이름} Sharp MX-2300N Guide에 대한 소프트웨어 설정 매뉴얼을 온라인으로 검색하거나 PDF를 다운로드하세요. Sharp MX-2300N Guide 48 페이지. Sharp mx-2700n, mx-2300n mfp - scan to e-mail instructions
Sharp MX-2300N Guide에 대해서도 마찬가지입니다: 사양 (2 페이지), 문제 해결 매뉴얼 (44 페이지), 안전 매뉴얼 (28 페이지), 문서 제출 매뉴얼 (47 페이지), 스캔하여 이메일 지침 (7 페이지)
INSTALLING THE PRINTER DRIVER / PC-FAX DRIVER
5
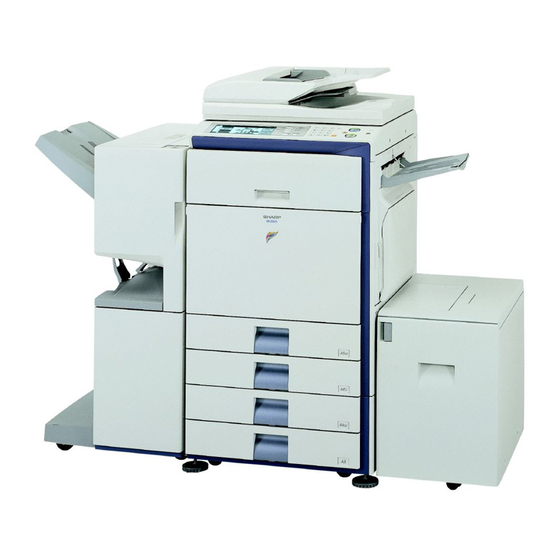
Configure the image of the machine.
An image of the machine is formed in the printer driver
configuration window based on the options that are
installed.
(1) Select the options that are installed on
the machine.
(2) Click the [OK] button.
6
Click the [OK] button in the printer
properties window.
If automatic configuration fails, configure the settings manually.
• You can check the options that are installed and the tray settings by printing out the "All Custom Setting List" in the system
settings of the machine. Follow these steps to print out the "All Custom Setting List": Press the [SYSTEM SETTINGS] key,
touch the [List Print (User)] key, and then touch the [All Custom Setting List] key.
• Click the [Set Tray Status] button, the [Paper Type Name] button, and the [Set Tandem Print]* button to check the settings
of each.
Set Tray Status: The "Tray Settings" in "Paper Tray Settings" in system settings of the machine are reflected in the
Paper Type Name: The "Paper Type Registration" settings in "Paper Tray Settings" in the system settings of the machine
Set Tandem Print*: Enter the setting (the IP address of the slave machine) in "Tandem Connection Setting" in the system
* "Set Tandem Print" can only be configured when the printer driver is installed using a "Standard installation" or a "Custom
installation" with "LPR Direct Print" selected.
24
(1)
(2)
settings shown here. Specify the size and type of paper loaded in each tray.
are reflected in the settings shown here. If a user type name (1 to 7) was changed, enter the changed
name.
settings (administrator) of the machine.