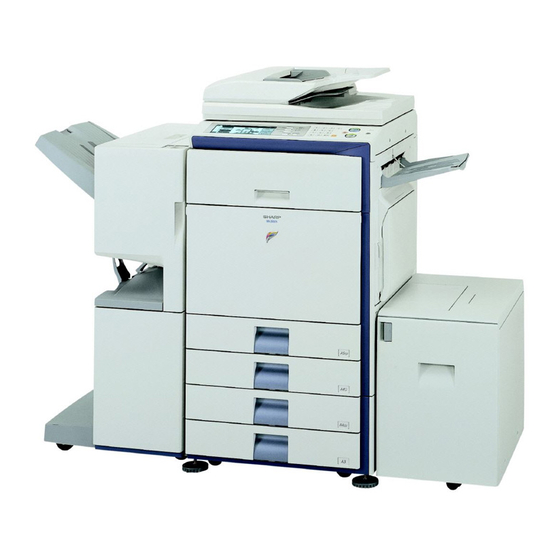
Sharp MX-2700N Guide 스캔하여 이메일 지침 - 페이지 5
{카테고리_이름} Sharp MX-2700N Guide에 대한 스캔하여 이메일 지침을 온라인으로 검색하거나 PDF를 다운로드하세요. Sharp MX-2700N Guide 7 페이지. Sharp mx-2700n, mx-2300n mfp - scan to e-mail instructions
Sharp MX-2700N Guide에 대해서도 마찬가지입니다: 사양 (2 페이지), 문제 해결 매뉴얼 (44 페이지), 안전 매뉴얼 (28 페이지), 문서 제출 매뉴얼 (47 페이지), 소프트웨어 설정 매뉴얼 (48 페이지)

Sharp Copier -
MX-2700N, MX-2300N
-
SCAN TO E-MAIL
ADVANCED INSTRUCTIONS
To enter a custom subject or a custom "Reply-To" address for the e-mail message, or to
enter a custom name for the attached file, follow these steps after you've entered or selected
a destination e-mail address for the e-mail message (steps 1 - 3 in Basic Instructions).
1
Touch the [Send Settings] key.
NOTE: If you skip these settings, the e-mail message that is sent from the copier will automatically use pre-
configured values for subject, file name, and "Reply-To" address.
2
To change the subject text of the e-mail message, touch the [Subject] key.
The subject selection screen appears. If any subject names have been pre-registered on the copier a list of
those subjects is displayed as subject keys.
2a
Select the desired subject from the list or manually input the subject text.
To select among the displayed subjects, touch the desired subject key and touch the [OK] key. The selected
subject key will become highlighted. If you made a mistake, touch the correct key. The highlighting will move
to the new key.
To enter the subject text manually, touch the [Direct Entry] key, enter the subject text using the on-screen
keyboard and touch the [OK] key.
The selected or entered subject will be the subject of the e-mail message.
5
