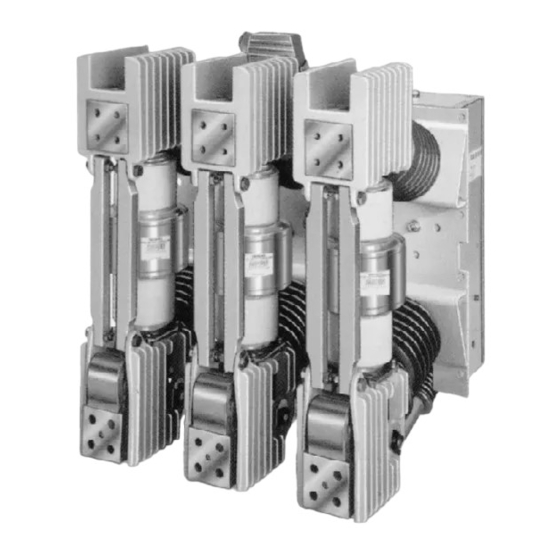
Siemens 3AH 지침, 설치, 작동, 유지보수 - 페이지 6
{카테고리_이름} Siemens 3AH에 대한 지침, 설치, 작동, 유지보수을 온라인으로 검색하거나 PDF를 다운로드하세요. Siemens 3AH 33 페이지. Vacuum circuit breaker operator module
Siemens 3AH에 대해서도 마찬가지입니다: 설치 운영 및 유지보수 (20 페이지), 사용 설명서 (38 페이지)

Installation Checks and Initial Functional Tests
Introduction
This section provides a description of the inspections,
checks and tests to be performed on the circuit breaker
module only.
Inspections, Checks and Tests without Control Power
Vacuum circuit breakers are normally shipped with their
primary contacts open and their springs discharged. How-
ever, it is critical to first verify the discharged condition of
the spring-loaded mechanisms after de-energizing control
power.
Spring Discharge Check (Figure 1) - Perform the Spring
Discharge Check before removing the circuit breaker from
the pallet or removing it from the switchgear.
The spring discharge check consists of simply performing
the following tasks in the order given. This check assures
that both the tripping and closing springs are fully dis-
charged.
Hazardous voltages and high-speed
moving parts.
Will cause death, severe personal injury, or
property damage.
Read instruction manuals, observe safety
instructions and use qualified personnel.
1. Press red Trip pushbutton.
2. Press black Close pushbutton.
3. Again press red Trip pushbutton.
4. Verify Spring Condition Indicator shows DISCHARGED.
5. Verify Main Contact Status Indicator shows OPEN.
Manual Spring Charging Check
1. Insert the manual spring charging crank into the manual
charge handle socket as shown in Figure 1. Turn the
crank clockwise until the spring condition indicator
shows the closing spring is Charged.
2. Repeat the Spring Discharge Check.
3. Verify that the springs are discharged and the breaker
primary contacts are open by indicator positions.
As-Found and Vacuum Check Tests - Perform and record
the results of both the As-Found insulation test and the
vacuum check high-potential test. Procedures for these
tests are described in the Maintenance Section of this
manual.
Automatic Spring Charging Check
Note: A temporary source of control power and test leads
may be required if the control power source has not been
Figure 1. Front Panel Controls of Type 3AH Circuit Breaker
connected to the switchgear. (Refer to the specific wiring
information and rating label for your circuit breaker to de-
termine the voltage required and where the control volt-
age signal should be applied. When control power is con-
nected to the 3AH circuit breaker, the closing springs should
automatically charge.
The automatic spring charging features of the circuit
breaker must be checked. Control power is required for
automatic spring charging to take place.
1. Open control power circuit be opening the control
power disconnect device.
2. Energize (close) the control power circuit disconnect.
3. Use the Close and Trip controls (Figure 1) to first Close
and then Open the circuit breaker contacts. Verify con-
tact positions visually by observing the Open/Closed
indicator on the circuit breaker.
4. De-energize control power by repeating Step 1. Dis-
connect the plug jumper from the switchgear first and
next from the circuit breaker.
5. Perform the Spring Discharge Check again. Verify that
the closing springs are discharged and the primary con-
tacts of the 3AH circuit breaker are open.
Final Mechanical Inspections without Control Power
1. Make a final mechanical inspection of the circuit
breaker. Verify that the contacts are in the Open posi-
tion, and the closing springs are Discharged.
2. Verify mechanical condition of springs.
3. Check for loose hardware.
5
