Siemens Simatic S7-300 시작하기 - 페이지 6

{카테고리_이름} Siemens Simatic S7-300에 대한 시작하기을 온라인으로 검색하거나 PDF를 다운로드하세요. Siemens Simatic S7-300 8 페이지. Automation systems, controlling a physical axis
Siemens Simatic S7-300에 대해서도 마찬가지입니다: 사용자 설명서 (34 페이지), 매뉴얼 (21 페이지), 운영 지침 (4 페이지), 운영 지침 (5 페이지), 매뉴얼 (35 페이지), 시작하기 (16 페이지), 애플리케이션 설명 (24 페이지), 매뉴얼 (18 페이지), 매뉴얼 (32 페이지), 설치 및 하드웨어 매뉴얼 (20 페이지), 시작하기 (32 페이지)
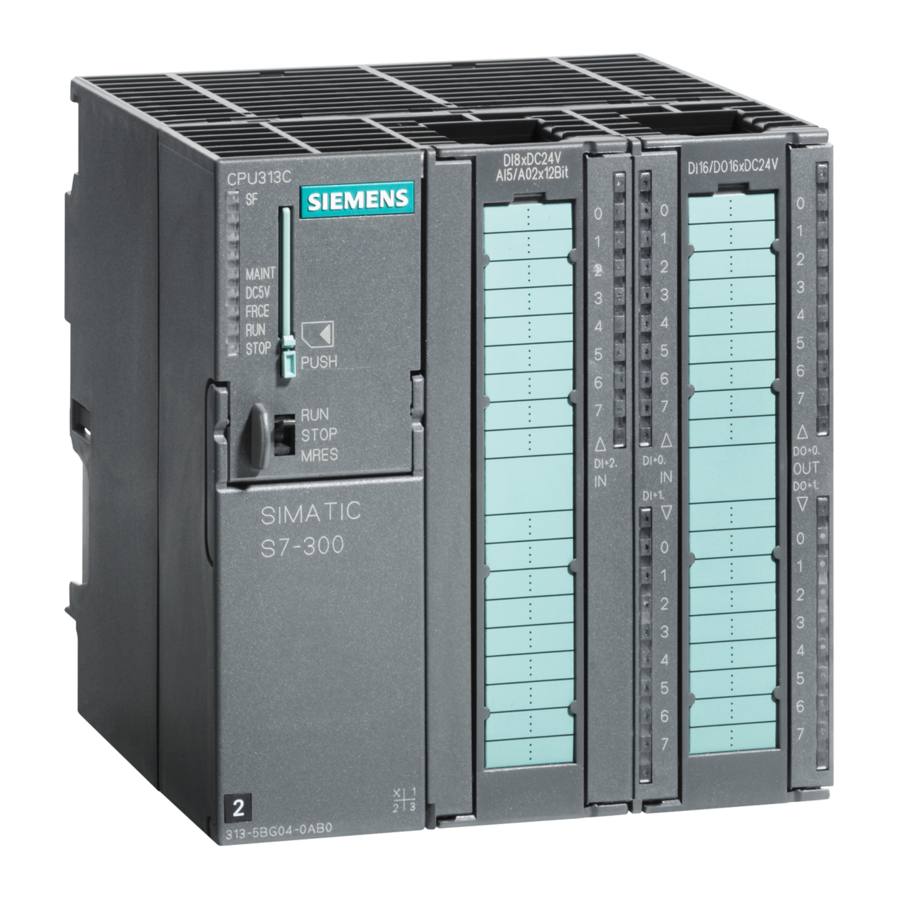
Siemens Simatic S7-300 시작하기
Step 4: Commissioning the Hardware
Stage
1
Follow the STEP 7 new project assistant on the pro-
gramming device and create a new project with the
following data:
CPU type: CPU 314 .
Block to be created: OB1
Project name: S7_Pro1
2
Double-click the OB1 icon in the right-hand part of the
window.
3
From the View menu, choose the LAD command to
switch to the LAD programming language.
4
Click exactly on the horizontal line of the rung current
path.
5
Double-click the –||– button (normally open contact) on
the toolbar and then click the –( ) button once (coil).
6
Click the red question mark of the normally open con-
tact on the left in the rung current path.
7
Enter E0.1 and press Return .
8
Label the right button in the same way with E0.2 and the coil with A4.0 .
9
Close the editor and confirm that you want to save with
Yes .
6
What to Do
S7-300 Programmable Controller, Getting Started, First Steps for Installation and Commissioning
Result
A two-part window with the title S7_Pro1 --... ap-
pears.
The editor for the OB1 block opens.
In the lower-left part of the window, a rung cur-
rent path is displayed in the network.
The line is highlighted.
The icons are inserted in the rung current path.
The normally open contact is highlighted, and a
text box with a cursor appears at the point of the
question mark.
The normally open contact on the left is assigned
the designation E0.1 .
The editor closes, and the OB1 is saved.
A5E00069340 01 // 04/2000