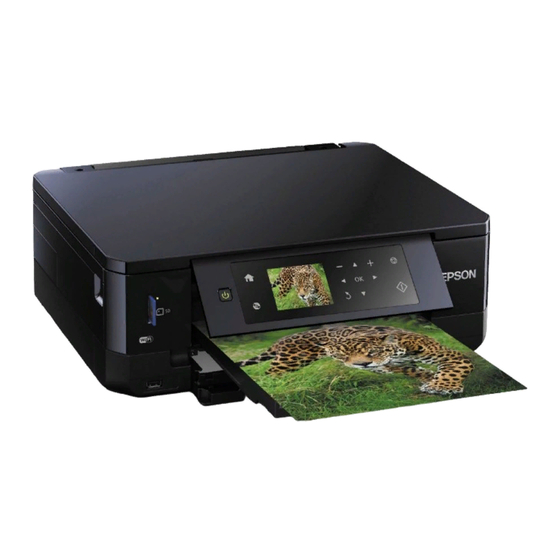
Epson XP-640 small-in-one 여기에서 시작
{카테고리_이름} Epson XP-640 small-in-one에 대한 여기에서 시작을 온라인으로 검색하거나 PDF를 다운로드하세요. Epson XP-640 small-in-one 4 페이지.
Epson XP-640 small-in-one에 대해서도 마찬가지입니다: 빠른 매뉴얼 (17 페이지)

XP-640 Small-in-One
Start Here
Read these instructions before using your product.
Nota para hispanohablantes/Note for Spanish speakers:
Para obtener instrucciones de configuración en español, consulte la
Guía de instalación en www.epson.com/support/xp640sp (requiere una
conexión a Internet).
1
Unpack
Note:
• Do not open ink cartridge packages until you are ready to install the
ink. Cartridges are vacuum packed to maintain reliability.
• The CD/DVD tray is taped to the bottom of cassette 2.
1
Remove all protective materials from the product.
2
Lift up the scanner unit and remove all protective
materials.
3
Lower the scanner unit.
Printer
®
2
Turn on and configure
1
Connect the power cord to the back of the printer and to
an electrical outlet.
Caution:
Do not connect to your computer yet.
2
Turn on the product, then adjust the control panel.
3
Select your language.
Note:
• You can change this setting later using the product's control
panel. For more information, see the online User's Guide.
• If an error message appears, turn off the product and check
that no protective material has been left inside the product.
3
Install ink cartridges
1
Lift up the scanner unit.
Caution:
Do not touch the flat, white cable.
2
Gently shake the Black (BK) ink cartridge. Do not shake
Photo Black (PBK) or other ink cartridges.
