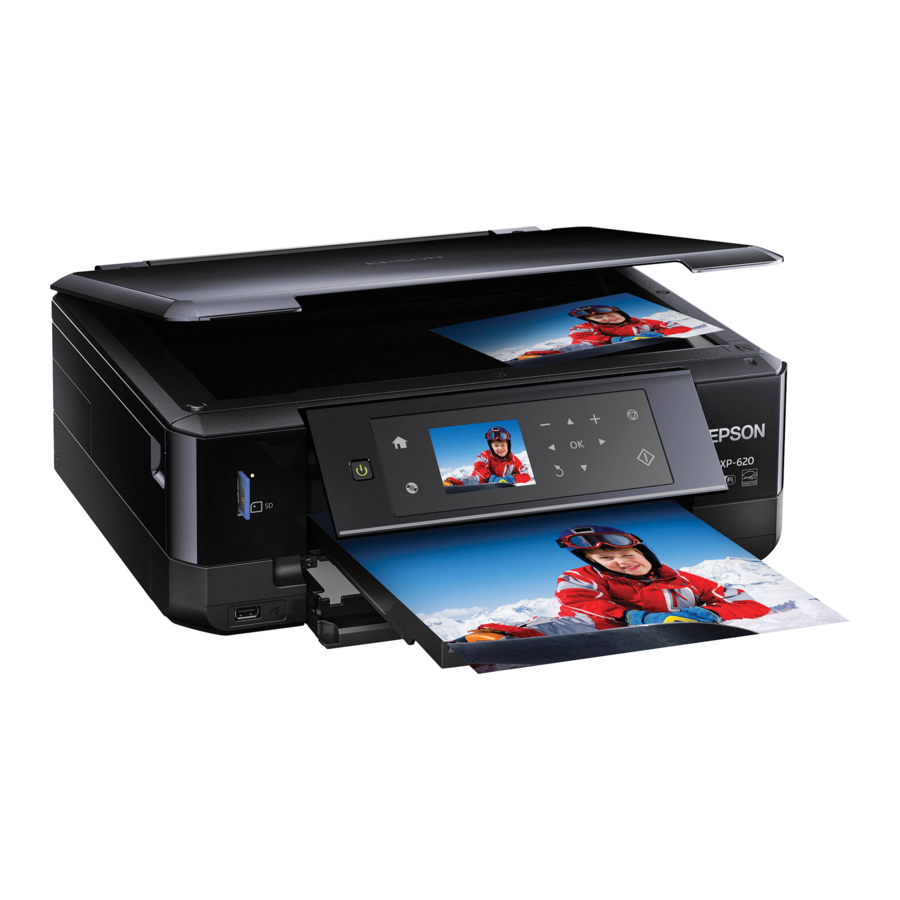
Epson XP-820 여기에서 시작 - 페이지 3
{카테고리_이름} Epson XP-820에 대한 여기에서 시작을 온라인으로 검색하거나 PDF를 다운로드하세요. Epson XP-820 4 페이지. Small-in-one printer
Epson XP-820에 대해서도 마찬가지입니다: 지침 (4 페이지)

C
Press Settings or d, and then make the print settings. Scroll down if necessary.
按下設定或 d,並進行列印設定。視需要往下捲動。
D
Press x to start printing.
按下 x 鍵開始列印。
Replacing Ink Cartridges
更換墨水匣
A
Prepare new ink cartridge(s). For best results, gently shake only the new Black
ink cartridge four or five times and then unpack.
備妥新的墨水匣。在打開包裝袋前,請先搖晃新的黑色墨水匣 4 到 5 次,以
取得最佳的輸出品質。
Q
You do not need to shake the color ink cartridges and the Photo
Black ink cartridge.
您不需要搖晃彩色墨水匣及相片黑墨水匣。
B
Remove the cap from the new cartridge.
取下新墨水匣的護蓋。
Open the scanner unit.
C
打開掃描單元。
!
Never touch the ink cartridges while the print head is moving.
當印字頭移動時,切勿碰觸墨水匣。
Q
If the ink cartridge holder does not move to the ink cartridge
replacement position, close the scanner unit and select Setup >
Maintenance > Ink Cartridge(s) Replacement.
若墨水匣槽沒有移至墨水匣更換位置,請關閉掃描單元並選擇
設定 > 維護 > 更換墨水匣。
D
Push the tab to unlock the ink cartridge holder and then remove the cartridge
diagonally.
按壓凸片以解開墨水匣槽,然後斜斜地取出墨水匣。
E
Insert the ink cartridge diagonally into the cartridge holder and gently push it
down until it clicks into place.
將墨水匣斜斜地插入墨水匣槽,然後輕輕壓入定位。
F
Close the scanner unit and follow the on-screen instruction.
闔上掃描單元並依照螢幕上的指示操作。
Wait until a completion message is displayed.
G
等待顯示完成訊息。
Clearing the paper jam
清除夾紙
From the rear cover / 從後蓋
A
Pull out the rear cover and carefully remove the jammed paper.
拉出後蓋並小心取出夾紙。
B
Open the rear cover and carefully remove the jammed paper.
打開後蓋並小心取出夾紙。
Reattach the rear cover.
C
裝回後蓋。
From inside the printer / 從印表機內部
A
Open the scanner unit and remove all of the paper inside, including any torn
pieces.
打開掃描單元並移除所有內部紙張,包括任何碎紙。
B
Close the scanner unit.
闔上掃描單元。
