Cisco 7962 빠른 참조 - 페이지 5

{카테고리_이름} Cisco 7962에 대한 빠른 참조을 온라인으로 검색하거나 PDF를 다운로드하세요. Cisco 7962 7 페이지. Telephone and voicemail
Cisco 7962에 대해서도 마찬가지입니다: 사용자 설명서 (6 페이지), 사용자 설명서 (6 페이지), 사용자 설명서 (4 페이지), 사용자 설명서 (3 페이지), 참조 매뉴얼 (2 페이지), 사용자 설명서 (6 페이지), 사용자 설명서 (4 페이지), 사용자 설명서 (13 페이지), 사용자 설명서 (13 페이지), 빠른 참조 매뉴얼 (2 페이지), 빠른 참조 매뉴얼 (3 페이지), 빠른 참조 매뉴얼 (9 페이지), 사용자 설명서 (2 페이지), 사용자 교육 매뉴얼 (2 페이지), 빠른 참조 매뉴얼 (7 페이지), 사용자 설명서 (9 페이지), 빠른 참조 (4 페이지), 빠른 참조 매뉴얼 (6 페이지), 사용자 설명서 (2 페이지), 빠른 참조 매뉴얼 (3 페이지), 빠른 매뉴얼 (2 페이지), 치트 시트 (3 페이지), 빠른 사용 설명서 (2 페이지), 빠른 시작 매뉴얼 (2 페이지)
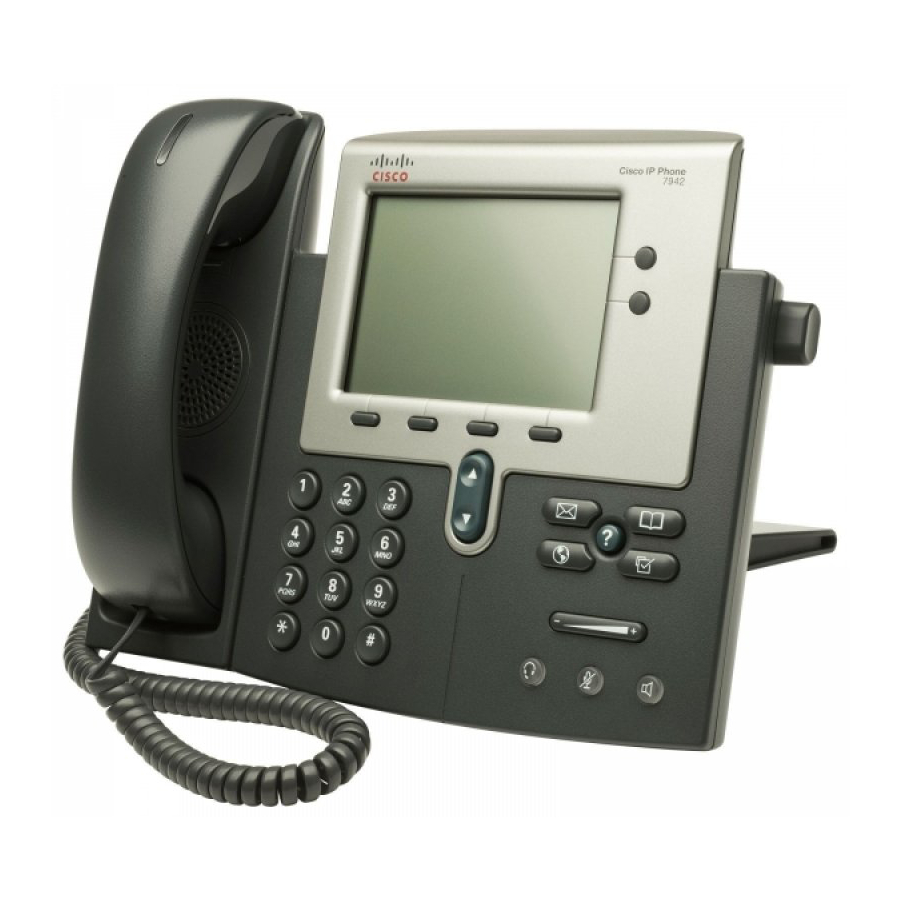
Cisco 7962 빠른 참조

WEB INTERFACE

(CALL MANAGER)
Each user has their own
personal Web site to allow
them to manage some of the
advanced phone features,
such as:
• Setting up speed dial
• Forwarding calls
• Activating and setting up
Fast Dial
• Activating and setting up
My Address Book
Accessing Call Manager
The Call Manager for your
phone is accessed through
your personal account on the
MyConcordia Portal at
http://www.myconcordia.ca.
For information about using
the Portal, see the
downloadable user guide at
http://web2.concordia.ca/
portal/help/myconcordia.pdf.
When you have accessed
your personal portal page,
click [CONFIGURE MY
PHONE].
Select Phone Device
If you have multiple phone
sets, you must select the one
you wish to configure from
the drop-down menu on the
main menu page.
Change your Pin
Click [CHANGE YOUR PIN]
on the main menu. Enter
| CISCO IP PHONE 7962 SERIES | Instructional & Information Technology Services |
12345 as the current PIN,
and select a new personal
PIN consisting of 7-20 digits.
Your new PIN will be required
to subscribe and activate
special services such as My
Address Book and Fast Dial.
Call Forward
1. On the main menu, click
[FORWARD ALL CALLS
TO A
DIFFERENTNUMBER]
2. Check box of phone
extension you wish to
forward
3. Select either voice mail
(you must have voice mail
to use this option!) or this
number (and enter the
phone number where you
want your calls to go)
4. Click [UPDATE]
5. To stop call forwarding,
clear the check box of the
extension that is being
forwarded, and click
[UPDATE]
Configure Speed Dial
■ Available Speed Dial
Button(s) on your Phone:
1. On the main menu, click
[ADD UPDATE YOUR
SPEED DIALS]
2. Enter the phone number
in the first text box and
the name you would like
displayed on your phone
set in the second text box
3. Remember to add "9" to
external numbers
4. Click [UPDATE]
12/15/2010
To dial, press speed dial
button on your phone.
■ Speed dial settings not
associated with a button
(up to 99 entries accessed
using dial pad and
abbreviated dialing):
1. On the main menu, click
[ADD/UPDATE YOUR
SPEED DIALS]
2. Enter the phone number
in the first text box and
the name associated
with number in the
second text box (name is
for reference and is not
displayed on the phone)
3. Remember to add "9" to
external numbers
4. Click [UPDATE]
Change Phone Locale
Profile (Language)
This determines the
language used on the
phone's LCD display. To
change the default language
setting:
1. From the main menu,
click [Change the
Locale for this Phone]
2. Select a language from
the drop - down menu
3. Click [UPDATE]
Change Web Locale
(language)
The User Locale determines
the language of the Call
Manager. To change the
default language setting:
5
P.