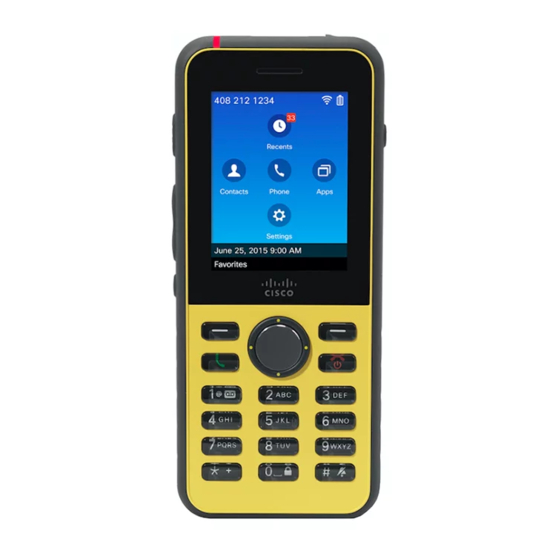
Cisco 8821 액세서리 매뉴얼 - 페이지 13
{카테고리_이름} Cisco 8821에 대한 액세서리 매뉴얼을 온라인으로 검색하거나 PDF를 다운로드하세요. Cisco 8821 30 페이지. Wireless ip phone
Cisco 8821에 대해서도 마찬가지입니다: 설정 (16 페이지), 문제 해결 (5 페이지), 최종 사용자 설명서 (6 페이지), 빠른 시작 매뉴얼 (2 페이지)

Cisco Accessories
Spare Battery Charging Indications
You can charge a spare battery with the additional charging port behind the main phone charging port. When
you put a spare battery into the charger, the Battery LED (to the right of the phone) lights to show the charging
status:
• Red—The spare battery is charging.
• Green—The spare battery is fully charged.
Set Up the Desktop Charger
You should place the desktop charger on a stable work surface.
Before You Begin
You need the cable that is provided with the charger. This cable has a plug on one end and a USB connector
on the other end.
You need the power adapter that comes with the phone.
Procedure
Step 1
Plug the plug end of the cable into the desktop charger.
Step 2
Plug the USB end of the cable into the power adapter and plug the power adapter into the electrical outlet.
Charge Your Phone with the Desktop Charger
You can tell when your phone is charging in the charger when the phone LED lights red and a message or
icon displays on the phone screen. When the battery is fully charged, the LED turns off. Your phone can take
up to 3 hours to recharge.
If your phone has a protective case, you don't need to remove the case before you charge the phone in the
desktop charger. You adapt the charger to fit the phone.
When you put the phone into the charger, make sure that you align the charging pins on the bottom of the
phone with the connector in the charger. When the phone is correctly placed in the charger, it is held in place
with magnets. If the LED does not light, then the alignment is not correct.
Caution
Do not charge the phone in a hazardous environment.
Do not charge the phone if it is wet.
Procedure
Step 1
(Optional) Turn the charger so that the back is facing you, put three fingers about 3/4 of the way into the cup,
press in, and lift. The cup should slide out.
Cisco Wireless IP Phone 882x Series Accessory Guide
Set Up the Desktop Charger
9
