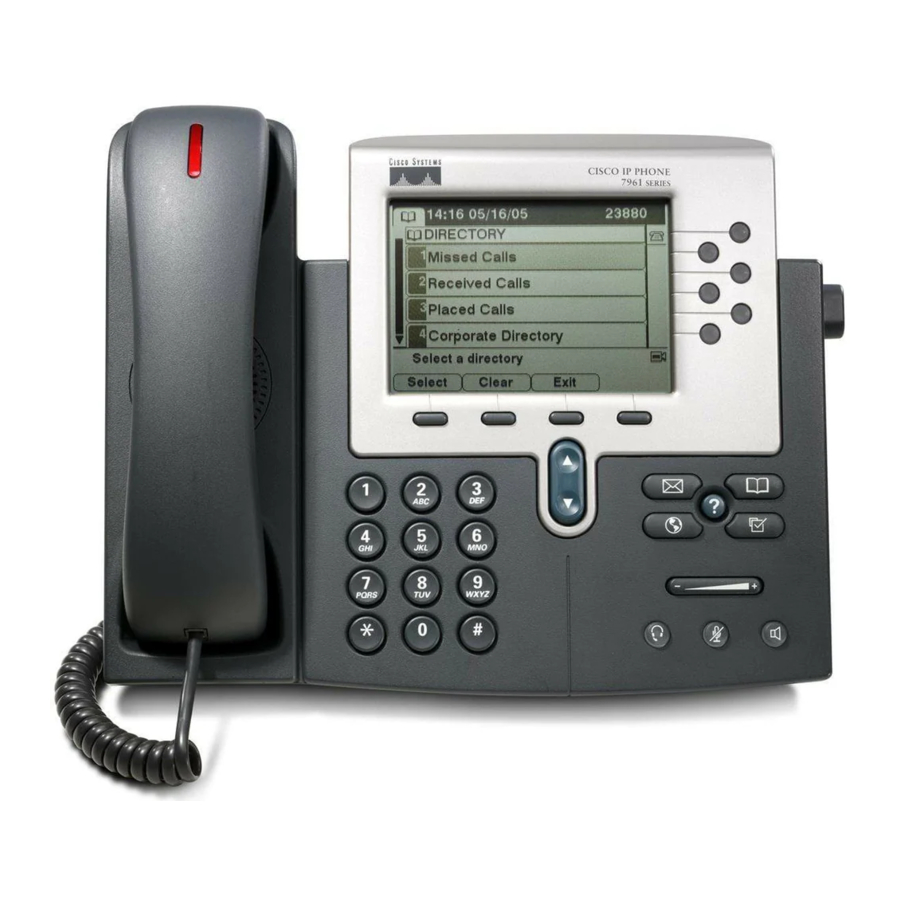
VOICE MAIL SETUP AND ACCESS
To enroll with voice mail (first use)
Press the Messages button or dial the internal
•
voice mail phone number (11200).
Enter the first time enrollment password (12345)
•
Follow prompts to:
•
Record your name - press # key as soon as
•
you say your name
Record a greeting – press # key as soon as
•
you say your greeting
Set a new password
•
To rerecord your name, press 4 then 3 and
•
follow prompts
To log on to voice mail from your phone:
Press the Messages button or dial the internal
•
voice mail phone number (11200).
Enter your password, press the # key
•
To log on to voice mail from another inside phone:
Press the Messages button or dial the internal
•
voice mail phone number (11200).
Press the * key when voice mail answers
•
Enter your ID (extension), then press # key.
•
Enter your password, then press the # key.
•
To log on to voicemail from outside:
Dial the main number for your site.
•
Press the * key when the Auto Attendant
•
answers.
Enter your ID, then press the # key.
•
Enter your password, then press the # key.
•
Basic Controls:
Press the Messages button or dial the internal voice mail
phone number (11200) and log on:
Hear new messages
1
Set up options
Send new message
2
Cancel or back up
Review old messages 3
Skip or move ahead #
During Message
After Message
Playback
Playback
Restart message
1
Repeat
Save
2
Save
Delete
3
Delete
Slow Playback
4
Reply
Change Volume
5
Forward message
Fast Playback
6
Save as new
Rewind, small
7
Rewind
Pause or Resume
8
Summary
Fast Forward, small
9
Transfer a caller directly to voicemail:
While connected to the caller, press the TRANSFER
•
soft key,
Press *
•
Dial the person's extension you are transferring the
•
call to
Press the TRANSFER soft key quickly
•
Leave a message in a mailbox without calling the
extension:
Pick up the handset
•
Press * and the 5-digit extension
•
Leave your message
•
Hang up
•
To record a standard greeting:
Dial voicemail and log on.
§
Press 4, 1, 1
§
After voicemail plays your current greeting, press 1
to re-record. Or press 3 to record a different
greeting, choose the greeting, and then re-record it.
Use these keys as you record
§
or continue 8
§
End recording #
To record an alternate greeting:
Turn on this greeting for a specific time period when you
want to provide information about special circumstances,
such as when you are on vacation. (For example, "I will be
out of the office until <date>.")
4
*
Dial voicemail.
§
Press 4, 1, 2
§
Follow prompts
§
If you turned on your alternate greeting, follow the
prompts to set when you want it turned off or to
leave it indefinitely.
1
2
SINGLE INBOX
3
Your voicemail messages are automatically synchronized with
4
your e-mail inbox. You can listen to messages directly from
5
your computer or smartphone, delete them, or save them for
6
future reference.
7
Voicemail messages display in your Inbox as
•
9
either the employee who called or as "PUHSD
Voicemail" if from an external caller. The
attachment is an audio file; play it to hear the
message.
Deleting the e-mail message moves it to your
•
Deleted Items folder and also removes the
voicemail from your phone.
Messages will be auto-deleted from your phone,
•
Inbox and Deleted Items folder after 30 days.
Messages moved to another folder OUTSIDE of
•
your Inbox or Deleted Items folder will not be
auto-deleted from your mailbox (although it will
still be removed from your phone).
E-mails with voicemail attachments are much
•
larger than text-only messages and will consume
more space in your mailbox. As with any e-mail it
is highly recommended that you only save
messages if necessary.
If your e-mail mailbox exceeds the 2GB limit you
•
will be unable to send e-mail.

