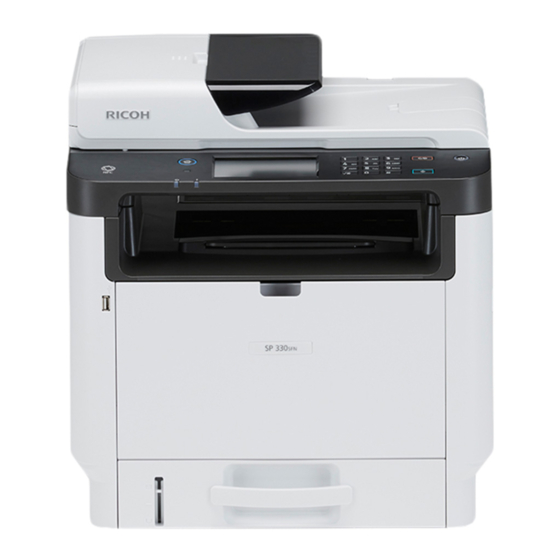
Ricoh SP 3710SF 매뉴얼 - 페이지 18
{카테고리_이름} Ricoh SP 3710SF에 대한 매뉴얼을 온라인으로 검색하거나 PDF를 다운로드하세요. Ricoh SP 3710SF 26 페이지.

- 1. Setup Guide
- 2. Setting up the Machine
- 3. Installing the Software
- 4. Check How the Computer Is Connected
- 5. Use the Machine from a Smart Device
- 6. Connecting the Machine Via Wireless (Wi-Fi)
- 7. Connecting the Machine (Usb/Network)
- 8. Setting the Date and Time
- 9. Selecting the Telephone Line Type and Telephone Network Connection Type
- 10. Setting the Outside Line Access Number
- 11. Basic Operation for Sending a Fax
- 12. Scan Settings
2.
Open the PIN code configuration window (web page) for the
router (access point) on your computer.
3.
Make sure the wireless LAN option is attached to the
machine and the wireless (Wi-Fi) connection is enabled.
For details, see page 10 "Attaching the wireless LAN option".
4.
Press the [User Tools] key.
5.
Press the [ ] or [ ] key to select [Network Settings], and
then press the [OK] key.
6.
If you are requested to enter a password, enter the
password using the number keys, and then press the [OK]
key.
A password for accessing the [Network Settings] menu can be
specified in [Admin. Tools Lock] under [Admin. Tools] menu.
7.
Press the [ ] or [ ] key to select [Wireless(Wi-Fi)], and
then press the [OK] key.
Network Settings
2 4
Wired (Ethernet)
Wireless (Wi-Fi)
IPv4 Configuration
8.
Press the [ ] or [ ] key to select [WPS], and then press the
[OK] key.
Wireless (Wi-Fi)
6 10
Current Connection
Input SSID
WPS
9.
Press the [ ] or [ ] key to select [PIN], and then press the
[OK] key.
WPS Type
2 2
PBC
PIN
10. Check the PIN code.
PIN
PIN Code:
XXXXXXXX
Connect
Abort
Write down the PIN code in case you might forget it.
16
DYG198
DYG205
DYG206
DSG096
DSG098
11. Enter the machine's PIN code (8 digits) on the router
(access point)'s web page.(The web page accessed in Step
2)
12. Execute WPS (PIN system) from the router (access point)'s
web page.
13. Press [Connect].
PIN
PIN Code:
XXXXXXXX
Connect
Abort
"Please wait for 2 minutes" appears and connecting with PIN
method starts.
14. Check the result.
Connection has succeeded:
PIN
Connection to AP
has Succeeded
• Press [EXIT] to return to the screen displayed in Step 9, and
then press the [User Tools] key to return to the initial screen.
Connection has failed:
PIN
Connection to AP
has Failed
• Press [EXIT] to return to the screen displayed in Step 9. Check
the configuration for the router (access point), then try the
connection again.
15. Configuring the Wireless (Wi-Fi) settings is complete.
16. To use the printer driver, install the printer driver according
to the procedure on page 17 "Easy Setup Using the
CD-ROM" and select "The machine's IP address has been
already configured." on step 6.
DSG098
EXIT
DSG368
EXIT
DSG369
