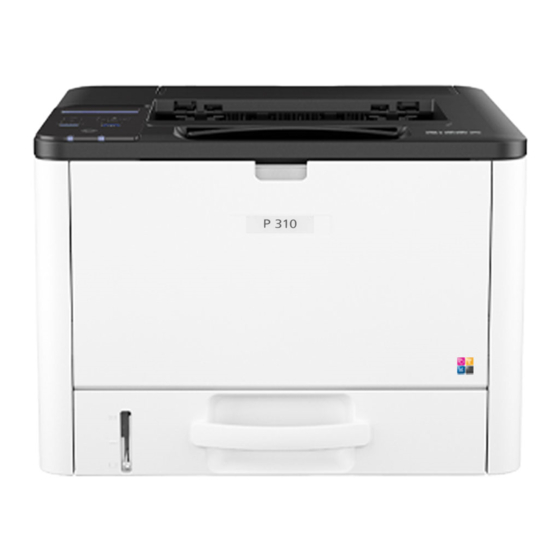
Ricoh P 310 설정 매뉴얼 - 페이지 19
{카테고리_이름} Ricoh P 310에 대한 설정 매뉴얼을 온라인으로 검색하거나 PDF를 다운로드하세요. Ricoh P 310 24 페이지.
Ricoh P 310에 대해서도 마찬가지입니다: 사용 설명서 (32 페이지)

Selecting the Telephone Line Type and Telephone Network Connection Type
1.
Press [Setting].
2.
Press [Administrator Tools].
3.
Enter the password using the number keys, and then press
[OK].
You can display the software keyboard by double tapping the
entry area on the display.
Setting the Outside Line Access Number
If you have selected PBX, use the following procedure.
1.
Press [Setting].
2.
Press [Administrator Tools].
4.
Press [Dial/Push Phone].
5.
Press the telephone line type appropriate for your
telephone service.
6.
Press [PSTN / PBX].
7.
Press [PSTN] or [PBX].
8.
Press the [Home] key to return the initial screen.
3.
Enter the password using the number keys, and then press
[OK].
You can display the software keyboard by double tapping the
entry area on the display.
4.
Press [PBX Access Number].
5.
Enter the outside line access number using the number
keys, and then press [OK].
6.
Press the [Home] key to return the initial screen.
17
