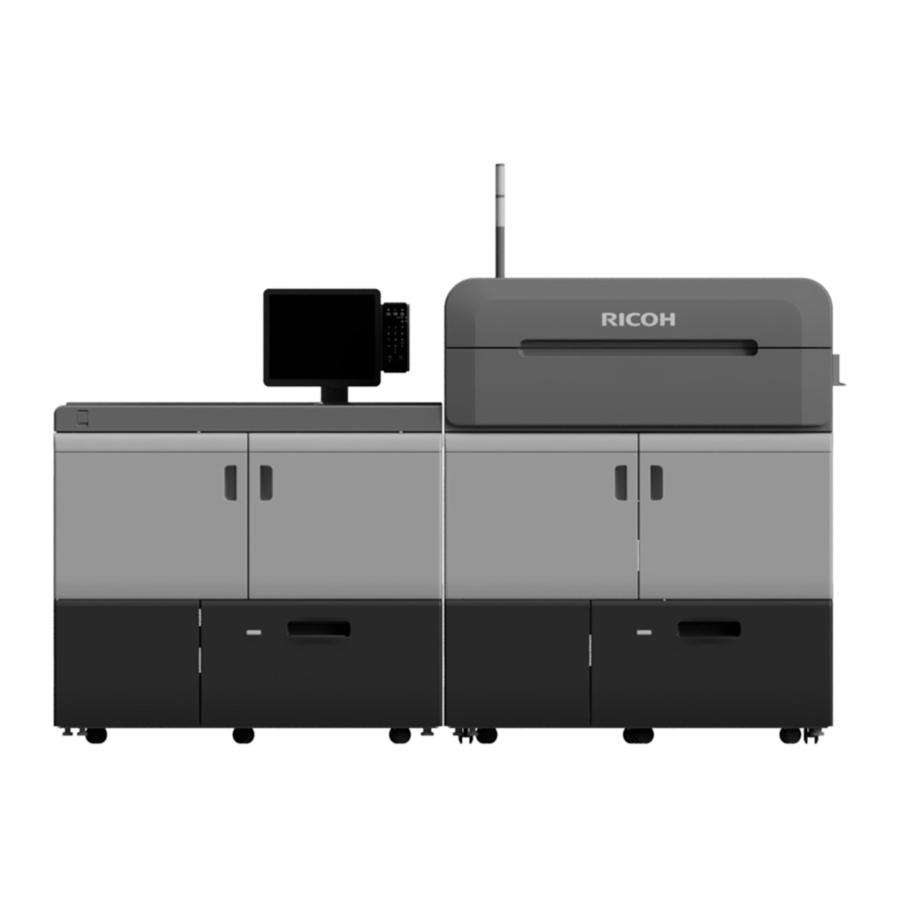
Ricoh Pro C9200 매뉴얼 - 페이지 21
{카테고리_이름} Ricoh Pro C9200에 대한 매뉴얼을 온라인으로 검색하거나 PDF를 다운로드하세요. Ricoh Pro C9200 32 페이지. Using the auto color diagnosis function
Ricoh Pro C9200에 대해서도 마찬가지입니다: 사용 설명서 (48 페이지), 팁 (49 페이지), 사용 설명서 (24 페이지), CIP 교육 (16 페이지)

CIP Training Pro C9200 series
Paper Catalogue Media Identification Unit
The list of custom paper whose configurations are similar to those of the scanned paper
appears.
7. Select the custom paper you want to use, and then press [Import].
8.
Press [OK].
9.
Press [Exit].
The selected custom paper is imported from the Master Library.
10.
Press
.
11.
Press the [Home] (
) icon at the center bottom of the screen.
• The list displayed in Step 7 includes custom paper with configurations whose match rates are
80% or higher.
• You can check and change the settings of the registered custom paper such as the paper size
setting on the [Custom Paper Management] screen. For details about modifying the custom
paper, see "Modifying a Custom Paper" in User Guide.
Registering a new custom paper with the Media Identification Unit
1.
Press [Tray Paper Settings] in the upper left corner of the screen.
2.
Press [CustomPaper Management].
3.
Press [Add New].
4. Press [Scan the Value].
5.
Insert paper into the Media Identification Unit, and then remove it.
Hold the edges of the paper with both hands when inserting the paper.
Keep the paper flat as you pull it out.
DFZ009
