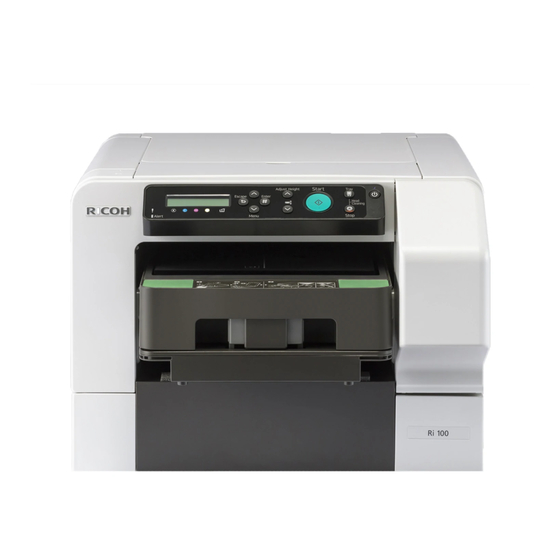
Ricoh Ri 100 빠른 설치 매뉴얼 - 페이지 4
{카테고리_이름} Ricoh Ri 100에 대한 빠른 설치 매뉴얼을 온라인으로 검색하거나 PDF를 다운로드하세요. Ricoh Ri 100 23 페이지. Direct to garment (dtg) printer
Ricoh Ri 100에 대해서도 마찬가지입니다: 참고 (12 페이지), 안전 정보 매뉴얼 (24 페이지), 유지 관리 매뉴얼 (12 페이지), 빠른 매뉴얼 (4 페이지), 빠른 설치 매뉴얼 (4 페이지), 빠른 매뉴얼 (4 페이지), 사용자를 위한 참고 사항 (32 페이지)

Control Panel Overview
8
9
1.
Display:
1.
Displays the current machine status and messages.
2.
[Escape] key
1.
Press this key to return to the previous condition on the display.
3.
[▴] [▾/Menu]
1.
Use these keys to increase or decrease values on the display when making settings.
2.
Keep the key pressed to quicken scrolling, and increase or decrease values on the display in
units of 10. To apply this function: under [Maintenance], set [Key Repeat] to [On].
4.
[#Enter] key
1.
Press this key to execute menu items selected on the display.
5.
[Start] key
1.
Start printing. LED of the [Start] key lights up when the machine is ready to start printing and
flashes when it is printing.
6.
[Tray] key
1.
Press this key to move the tray forcibly to the front.
7.
Power Lamp
1.
Lights up when the power is on.
2.
Flashes when the machine is receiving data from a computer or if there is data to be printed.
8.
Alert Indicator
1.
Lights up or blinks whenever a machine error occurs.
2.
If the red light is on, follow the instructions that appear on the display.
9.
Cartridge Replacement indicator
1.
Each color corresponds to an ink cartridge.
2.
K, C, M, and Y indicate black, cyan, magenta, and yellow, respectively.
3.
The amount of ink remaining in each ink cartridge is indicated on the six-level display.
1
2
10
3
4
11
5
6
7
12 13 14
4
