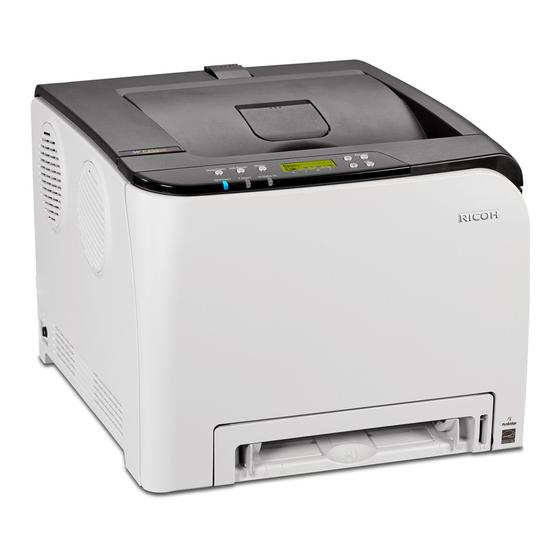
Ricoh SP C252DN 사용 설명서 - 페이지 23
{카테고리_이름} Ricoh SP C252DN에 대한 사용 설명서을 온라인으로 검색하거나 PDF를 다운로드하세요. Ricoh SP C252DN 48 페이지. Color laser printers
Ricoh SP C252DN에 대해서도 마찬가지입니다: 브로셔 및 사양 (4 페이지), 시작하기 매뉴얼 (42 페이지)

The number after "USB" varies depending on the number of printers connected.
Windows 8, Windows Server 2012
1.
Quit all applications. (Do not close this manual.)
2.
Check that the power of the machine is off.
3.
Connect the machine and computer using a USB cable.
Connect the USB cable firmly.
4.
Turn on the power of the machine.
Found New Hardware Wizard starts, and USB Printing Support is installed automatically.
5.
Click [Devices and Printers] from the [Start] menu.
6.
Double-Click the icon of machine you want to use in the [Unspecified] category.
7.
Click the [Hardware] tab.
8.
Click [Properties].
9.
Click the [General] tab.
10.
Click [Change settings]
11.
Click [Driver] tab.
12.
Click [Update Driver...].
13.
Click [Browse my computer for driver software].
14.
Insert the provided CD-ROM into the computer's CD-ROM drive.
If the [AutoPlay] dialog box appears, click [Close].
15.
Click [Browse], and then select the printer driver location.
If the CD-ROM drive is D, the source files of the printer driver are stored in the following locations:
• PCL 5c
32-bit driver D:\DRIVERS\PCL5C\XP_VISTA\(Language)\DISK1
64-bit driver D:\DRIVERS\PCL5C\X64\(Language)\DISK1
• PCL 6
32-bit driver D:\DRIVERS\PCL6\XP_VISTA\(Language)\DISK1
64-bit driver D:\DRIVERS\PCL6\X64\(Language)\DISK1
• PostScript 3
32-bit driver D:\DRIVERS\PS\XP_VISTA\(Language)\DISK1
64-bit driver D:\DRIVERS\PS\X64\(Language)\DISK1
For details about the languages supported in the printer drivers, see page 6 "Supported
languages".
Installing the Printer Driver for a Local Connection
21
