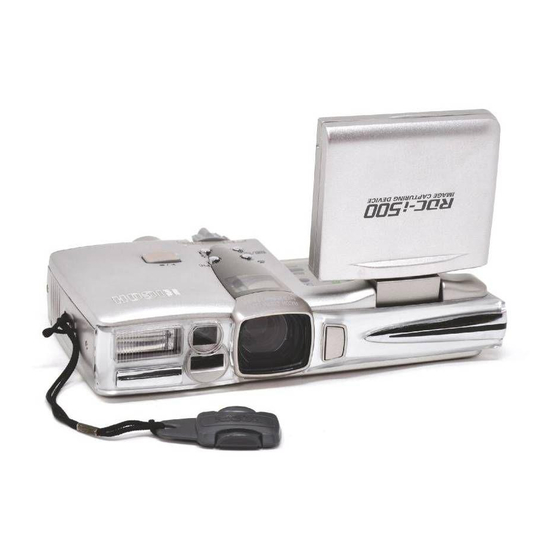
Ricoh RDC-i500 기본 작업 - 페이지 11
{카테고리_이름} Ricoh RDC-i500에 대한 기본 작업을 온라인으로 검색하거나 PDF를 다운로드하세요. Ricoh RDC-i500 16 페이지. Ricoh rdc-i500: brochure
Ricoh RDC-i500에 대해서도 마찬가지입니다: 운영 매뉴얼 (27 페이지), 사양 (2 페이지)

B Select [HOME DATE/TIME] or
[DESTINATION DATE/TIME] and then
press the ENTER button.
C Press the ENTER button.
The display will return to the Camera
Settings menu.
Press the CANCEL button to return to the
Setup menu.
Selecting the Date Format
Select the date format. There are three types to choose from.
Example: Setting September 15. 2001, 10:00 am
YYYY/MM/DD hh:mm
MM DD YYYY hh:mm
DD MM YYYY hh:mm
A Select [DATE/TIME FORMAT] and
press the
button.
B Choose the date and time format you
wish to use and then press the
ENTER button.
C Press the ENTER button.
The display will return to the Camera
Settings menu.
Press the CANCEL button to return to the
Setup menu.
How to Verify the Date and Time
Tips
The set date and time are displayed on the LCD monitor in Recording
or Play mode. P.41, P.85 "LCD Monitor Display"
2001/09/15 10:00
SEP 15 2001 10:00
15 SEP 2001 10:00
2
33
