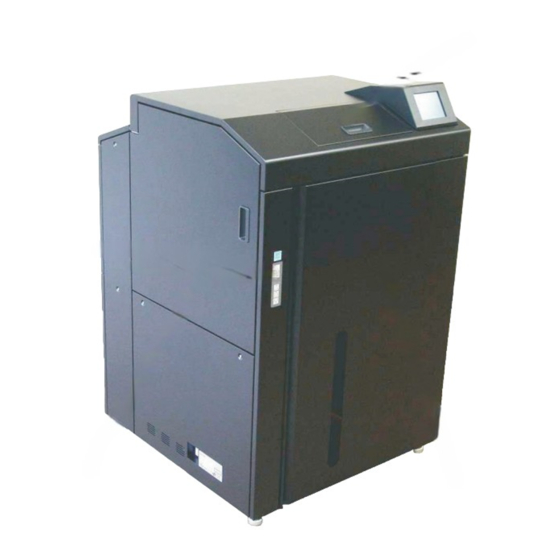
Ricoh 4372-001 사용자 설명서 - 페이지 19
{카테고리_이름} Ricoh 4372-001에 대한 사용자 설명서을 온라인으로 검색하거나 PDF를 다운로드하세요. Ricoh 4372-001 50 페이지. Printer driver

To configure settings for printers that are plugged
into another computers and shared on the network,
select [Add a network, wireless or Bluetooth printer].
Computers and printers on the network are located
and displayed in tree format. Select the computer and
shared printer to be used. It may take time to locate
depending on the network environment.
6
Select printer connection port, and then click
the [Next] button.
To add LPR port (Standard TCP/IP Port),
see
"2.2 Adding LPR
Also see
"2.1 Checking Connection with Printer"
"2.6.1 Adding New LPR
You can also change connection port settings after
finishing installation of the printer Driver.
See
"2.6 Changing Print
7
Click the [Have Disk] button.
8
Click the [Browse] button.
Port".
and
Port".
Port".
OG
Chapter 2 Print from Windows Vista/Server 2008/7/Server 2008 R2
9
Move to the folder in which the PostScript Printer
Driver is located and then click the [Open] button.
10
Click the [OK] button.
11
Select the printer model, and then click the [Next]
button.
A
01
2-9
