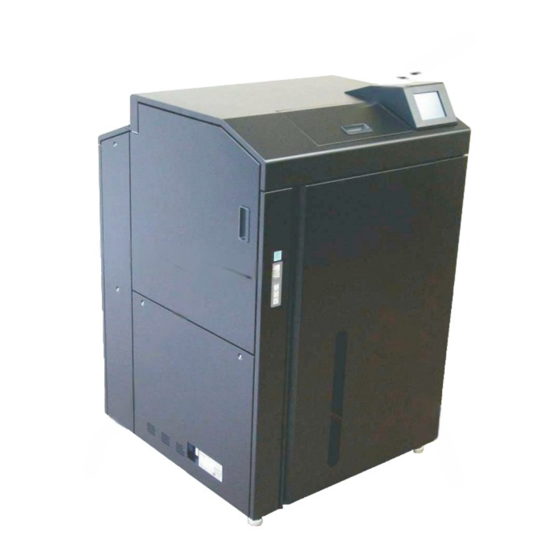
Ricoh InfoPrint 75 사용자 설명서 - 페이지 15
{카테고리_이름} Ricoh InfoPrint 75에 대한 사용자 설명서을 온라인으로 검색하거나 PDF를 다운로드하세요. Ricoh InfoPrint 75 50 페이지. Printer driver

2.2
Adding LPR Port
Add a port for printer output, following the steps below:
1
Log on with the user name with Administrator
privileges.
2
Select [Start] - [Control Panel] and open the
Control Panel.
3
Double click on the [Printer] icon. When the [Printer]
icon is not displayed, select [Classic View] from
the menu on the left hand side of the window.
For Windows 7/Server 2008 R2,
click the [Devices and Printers] icon.
If icons are not displayed, change [View by:]
on the right hand side of the window
from [Category] to [Large icons] or [Small icons].
Chapter 2 Print from Windows Vista/Server 2008/7/Server 2008 R2
4
Right-click the printer menu on the left hand side of
the window and select [Run as administrator] -
[Server Properties]. The [Print Server Properties]
dialog is displayed.
For Windows 7/Server 2008 R2, select Fax
or Printer, click the [Print Server Properties].
5
Select the [Ports] tab in the [Print Server Properties]
dialog, and then click the [Add Port] button.
For Windows Server 2008 R2, when
[Change Port Settings] button is displayed,
click the [Change Port Settings] button and
click the [Add Port...].
6
Select [Standard TCP/IP Port], and then click the
[New Port] button.
OG
A
01
2-5
