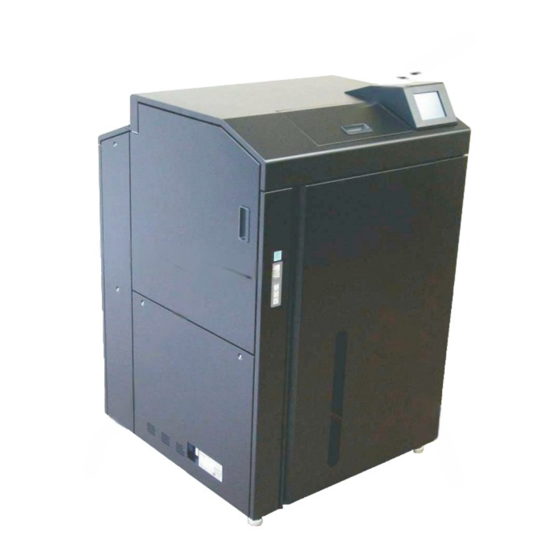
Ricoh InfoPrint 75 사용자 설명서 - 페이지 22
{카테고리_이름} Ricoh InfoPrint 75에 대한 사용자 설명서을 온라인으로 검색하거나 PDF를 다운로드하세요. Ricoh InfoPrint 75 50 페이지. Printer driver

Chapter 2 Print from Windows Vista/Server 2008/7/Server 2008 R2
2.5
Printer Sharing
To print from another client computer connected to a network via computer running Windows Vista/Server 2008/7/Server
2008 R2, use the printer [Sharing] function.
1
Log on with the user name with Administrator
privileges.
2
View [Sharing] properties, following the steps outlined
in
."2.4 Displaying Properties"
3
Open the Control Panel, select
[Network and Sharing Center]. Open details of
[Printer Sharing] from the [Sharing and Discovery] list
and select [Turn on printer sharing]. Click the [Apply]
button on the lower right side of the window to close
the dialog.
If printer sharing is already enabled, go to
When the [User Account Control] dialog
is displayed for checking the user account
after clicking [Apply] under
[Network and Sharing Center], click [Continue].
For Windows 7/Server 2008 R2,
click [Change advanced sharing settings], and select
[Turn on file and printer sharing] on [File and printer
sharing], and then click [Save changes].
4
When [Change sharing options] is displayed in
[Sharing] properties dialog,
click [Change sharing options].
4
.
5
Select [Share this printer] and click [OK]. You can
change the [Share Name] to any name.
Sharing printer will be made available as a shared
printer on the network. The shared printer on
Windows receives data to be printed from a client
computer and sends this printing data to the port
specified in the [Port] properties.
To print from the client computer via a shared printer
on Windows, you need to log on to Windows and
to connect to a network which has shared printers.
OG
A
01
2-12
When the [User Account Control] dialog is
displayed for checking the user account after
checking [Share this printer], click [Continue].
