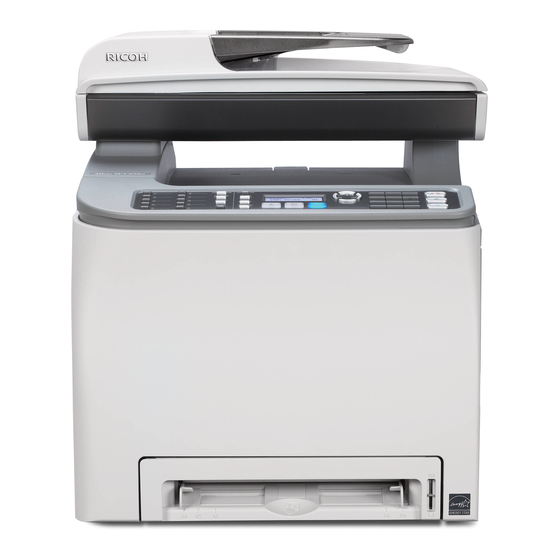
Ricoh Aficio SP C232SF 정보 - 페이지 2
{카테고리_이름} Ricoh Aficio SP C232SF에 대한 정보을 온라인으로 검색하거나 PDF를 다운로드하세요. Ricoh Aficio SP C232SF 36 페이지. New fax feature
Ricoh Aficio SP C232SF에 대해서도 마찬가지입니다: 사양 (4 페이지), 기능 설명서 (27 페이지)

•
If the re-entered number does not match, [TEL # does not match] appears on the screen. Go
back to step 3.
If you have more originals to scan, press [1] within 60 seconds, place the next original on the
7.
exposure glass, and then press the [OK] key. Repeat this step until all originals are scanned.
If you do not press [1] within 60 seconds, the machine will start to dial the destination.
When all originals have been scanned, press [2] to start sending the fax.
8.
Note
•
Number confirmation is required only when a fax number is input using the number keys. Number
confirmation is not required when the destination is specified using the Quick Dial, Speed Dial, or
Redial function, or when sending a fax from a computer.
•
For more details about other fax functions, see "Using the Fax Function", User Guide
Enabling the feature using Web Image Monitor
1. Launch the Web browser.
2. In the Web browser's address bar, enter "http://(machine's IP address)/" to access the machine.
3. Click [Machine Settings], and then click the [Fax] tab.
4. From the [Fax Number Confirmation] list, select [ON].
5. Enter the Administrator Password, and then click [OK].
Note
•
The [Fax Number Confirmation] setting appears only when [Administrator Password] is specified.
For details about [Administrator Password], see "Configuring the Password", User Guide
2
.
.
