ActronAir CP05 설치 매뉴얼 - 페이지 7
{카테고리_이름} ActronAir CP05에 대한 설치 매뉴얼을 온라인으로 검색하거나 PDF를 다운로드하세요. ActronAir CP05 16 페이지. Control interface
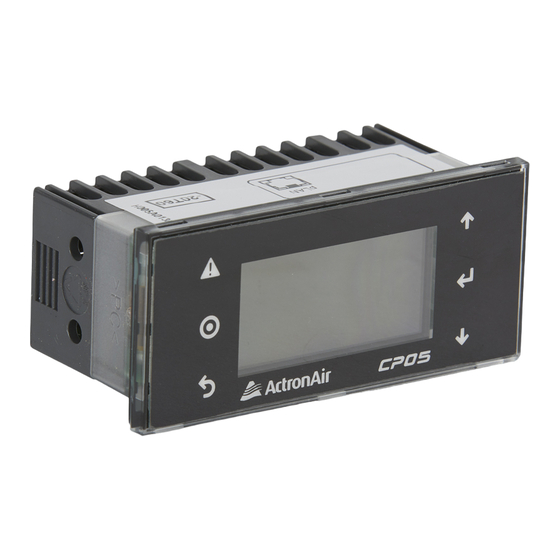
CP05 & CP10 CONTROL INTERFACE INSTALLATION GUIDE
CONTROL INTERFACE (CP10) REMOTE MOUNTING PROCEDURES:
B. WALL MOUNT
Step 1. Remove the Front Cover from the
Control Interface assembly.
*
Tab
*
Tab
*
Use a small screwdriver to lift Tabs for the
removal of the Back Cover-Control Interface
Step 3. Install the Control Interface onto the wall using mounting bracket and wall mount cover, as shown below:
Wall Mounting
Cut-Out 50mm x 70mm
(Suggested)
Wall Mount Cover -
Control Interface
ActronAir is constantly seeking ways to improve the design of its products, therefore specifications are subject to change without notice.
Copyright © 2022 Actron Engineering Pty. Ltd.
Front Cover
Control Interface
Control
Interface
Bracket -
Wall Mounting
(Installer to Supply)
Control
Interface
Supplied Screw
(2-off)
Step 2. Remove the Back Cover and the Gasket from
the Control Interface assembly.
Back Cover
Control Interface
Screw - (2-off)
(Installer to Supply)
Front Cover
Control Interface
Control
Interface
Gasket
7