Epson G5000 - PowerLite XGA LCD Projector 빠른 참조 카드 - 페이지 2

{카테고리_이름} Epson G5000 - PowerLite XGA LCD Projector에 대한 빠른 참조 카드을 온라인으로 검색하거나 PDF를 다운로드하세요. Epson G5000 - PowerLite XGA LCD Projector 7 페이지. Esc/vp21 command business projectors
Epson G5000 - PowerLite XGA LCD Projector에 대해서도 마찬가지입니다: 사용자 설명서 (42 페이지), 사양 (2 페이지), 부품 목록 (1 페이지), 사용자 설명서 (1 페이지), 제품 지원 게시판 (25 페이지), 제품 지원 게시판 (22 페이지), 적합성 선언 (4 페이지), 제품 지원 게시판 (28 페이지), 제품 지원 게시판 (41 페이지), 사용자 설명서 (25 페이지), 제품 지원 게시판 (15 페이지), 제품 지원 게시판 (22 페이지), 사용자 설명서 (25 페이지), 설치 핸드북 (3 페이지)
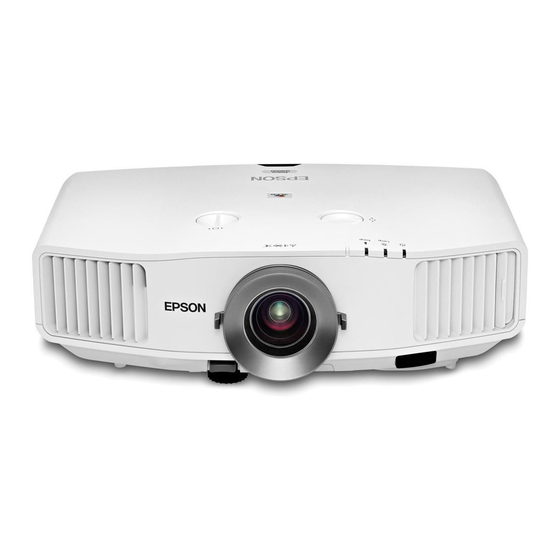
Epson G5000 - PowerLite XGA LCD Projector 빠른 참조 카드

Installing the Manuals

1. Insert the projector CD in your
computer's CD or DVD drive.
(Double-click the Epson installer
icon, if necessary.)
2. Select your language, follow the
instructions on the screen to
register, then click User's Guide,
EMP Monitor Operation Guide
(Windows) or User's Guide
(Macintosh) to install the manuals.
(If you are using Windows and you
don't have Adobe
Adobe Reader to install it also.)
Then click Exit.
3. To view the manuals, double-click
the PowerLite G5000 User's Guide
or EMP Monitor Operation Guide
(for Windows users only) icon on
your computer's desktop.

Turning the Projector On

1. Turn on your computer or image
source.
2. Remove the lens cover.
3. Press the
power button. After
the power light stays green, the
projector is ready.
Note: If the Direct Power On function is
enabled, you can turn the projector on
without pressing the
just plug it in or flip the switch controlling
the outlet to which the projector is
connected. To turn on this feature, see
the User's Guide.
4. If your image does not appear, see

"Switching Between Image Sources"

or "Troubleshooting."
®
®
Reader
, click
power button;
Switching Between Image
Sources
Press the Search button
or one of the Source
buttons on the remote
control
Note: The BNC, EasyMP, and HDMI
buttons are not applicable to this
projector.

Adjusting Image Position

If the projector is mounted to the
ceiling, use the vertical lens shift dial
to move your image up or down or
use the horizontal lens shift dial to
move your image left or right. You
can also use the ceiling mount to
adjust the position.
Horizontal lens shift dial
Vertical lens shift dial
If the projector is on a table, place
it so it faces the screen as squarely
as possible. To raise the image, use
the vertical lens shift dial as shown
above, or press the blue foot release
lever and lift the front of the projector
to extend the front adjustable foot.
Release the lever to lock the foot in
position.
Press the Source
Search button on the
projector