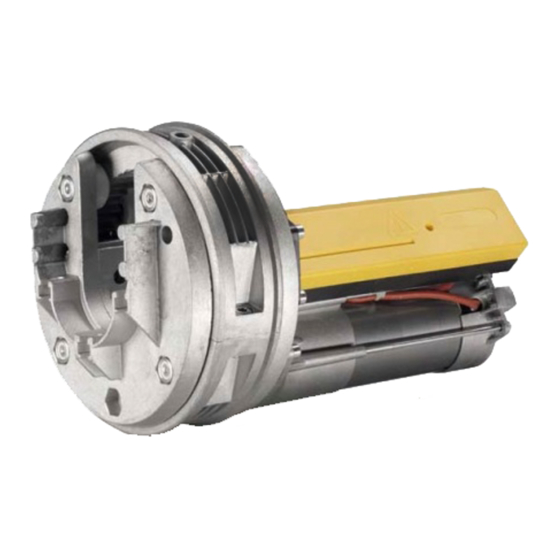
CAB PRESTIGE PS1.60FA 사용자 핸드북 매뉴얼 - 페이지 10
{카테고리_이름} CAB PRESTIGE PS1.60FA에 대한 사용자 핸드북 매뉴얼을 온라인으로 검색하거나 PDF를 다운로드하세요. CAB PRESTIGE PS1.60FA 16 페이지. Gearmotor for spring rollere shutter

The motor can be mounted in two different ways:
Mounting with horizontal hole (Fig.1a)
To mount the motor on existing shutters, drill the shaft horizontally.
1) Fix the gearmotor to the bar 2 using bracket 1 (if bar diameter is 48mm or 42mm use appropriate reduction
elements).
2) Lock the gearmotor on the bar by means of the screw 3, safety washer 4 and nut 5.
3) Fix the two crown gears 6 to the gearmotor by means of the screws 7 and self-locking nuts 8.
4) Make appropriate holes on the bar for the insertion of the wire 9 and electric cable sheath 10 making sure
that the position of the holes facilitates the insertion of the wires and cables.
Mounting with vertical hole (Fig.1b)
During installation of a new shutter the motor can be slid onto the shaft without dismantling the gear.
1) To vertically perforate the pipe, and using the clamp 11, to stop the motor on the pole using the screw 13
and the side screw 12.
2) On the flange you will find some places for the dice of block 14.
NB: In both cases always firmly tighten clamp 1 (Fig.1a).
1) Remove the cover of the limit switch
2) With rolling gate closed, move switch 2 to ON (limit switches excluded).
3) After completion of the wire connections, completely open and close the rolling gate.
4) Move switch 2 to OFF (limit switches activated).
5) Carry out some movements to check the correct triggering of the limit switches.
6) The system can be manually adjusted by acting on the special toothed ring nut.
7) After adjustment, place the cover on again and fit it by means of a screw.
1) Mount the clutch disk on the upper cover of the electric motor.
2) Use the screws 1 supplied to fix the electrobrake (plate, wound bobbin and sheet metal support) on the
upper cover.
3) Remove the cover of the limit switch 2 box.
4) Connect the two wires of the electric brake to terminals "EF" of the card inside the limit switch box.
5) Place the limit switch box cover on and fit it by means of the special screw.
1) This instruction booklet is only addressed to qualified specialists.
2) Use low voltage to perform up and down movements of the shutter.
3) We recommend the use of original CAB accessories.
4) Use cables with a minimum section of 1.5 mm
5) Cables must not get in contact with metal parts in order to avoid short circuits.
6) All products manufactured by AUTOMATISMI CAB S.r.l. are guaranteed.
The warranty is limited exclusively to repair or substitution cost free of the pieces which will be acknowledged
by the company as faulty due to poor quality of materials or manufacture.
Any complaints will not, under any circumstances, give the Buyer the right to cancel or reduce the order, nor
will it oblige AUTOMATISMI CAB S.r.l. to pay compensation for damages of any kind.
The guarantee loses its validity if the goods, returned as faulty, have been tampered with, repaired or defects
arising from the influence of external agents, incorrect maintenance, overloading, normal wear and tear, er-
roneous choice of model, incorrect installation or any other factor not attributable to AUTOMATISMI CAB
S.r.l.
AUTOMATISMI CAB S.r.l. is only responsible for damages caused by any accidents resulting from faulty
products, required by Italian law.
The warranty requires that the system is in compliance with the regulations in force and the accessories
used are original AUTOMATISMI CAB S.r.l. In the event of defective accessories, indicate the serial number
of the motor.
10
Gearmotor installation (fig.1a-b)
Limit switch adjustment (fig.2)
Electrobrake assembly (fig.3)
Notes and guarantee
.
2
