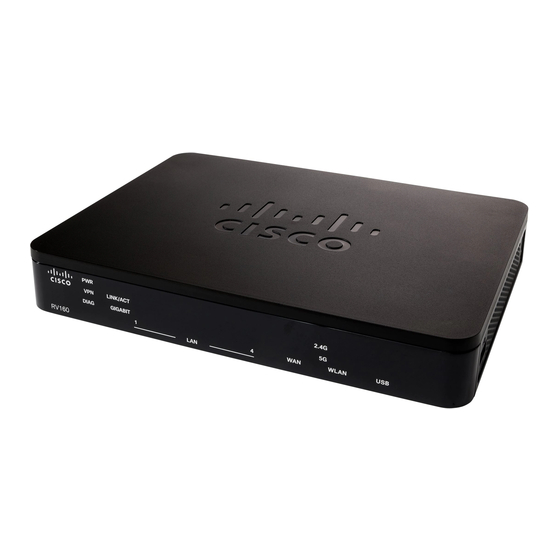
Cisco RV160 빠른 시작 매뉴얼 - 페이지 6
{카테고리_이름} Cisco RV160에 대한 빠른 시작 매뉴얼을 온라인으로 검색하거나 PDF를 다운로드하세요. Cisco RV160 11 페이지.

Kensington Lock Slot — Lock slot on the right side to secure the device
physically, using the Kensington lock-down equipment.
Connecting the Equipment
3
Connect a configuration terminal (PC) to the device by using a LAN port.
The terminal must be in the same wired subnetwork as the device to
perform the initial configuration. As part of the initial configuration, the
device can be configured to allow remote management.
To connect a computer to the device:
Power off all equipment, including the cable or DSL modem, the
S
1
TEP
computer, and this device.
Use an Ethernet cable to connect your cable or DSL modem to the
S
2
TEP
WAN port on this device.
Connect another Ethernet cable from one of the LAN (Ethernet)
S
3
TEP
ports to the Ethernet port on the computer.
Power on the WAN device and wait until the connection is active.
S
4
TEP
Connect the power adapter to the 12VDC port of this device.
S
5
TEP
Use only the power adapter that is supplied with the device.
C
AUTION
Using a different power adapter could damage the device or
cause the USB dongles to fail.
The power switch is on by default. The power light on the front
panel is solid green when the power adapter is connected
properly and the device is finished booting.
Plug the other end of the adapter into an electrical outlet. Use the
S
6
TEP
plug (supplied) specific to your country.
Continue with the instructions in the Using the Setup Wizard to
S
7
TEP
configure the device.
Using the Setup Wizard
4 4 4
The Setup Wizard and Device Manager are supported on Microsoft
Internet Explorer, Mozilla Firefox, Apple Safari, and Google Chrome.
6
Cisco RV160 Router Quick Start Guide
