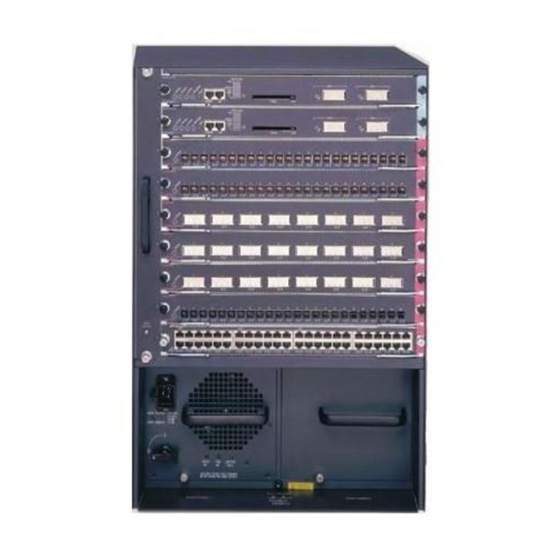
Cisco WS-C6509 사용자 설명서 - 페이지 13
{카테고리_이름} Cisco WS-C6509에 대한 사용자 설명서을 온라인으로 검색하거나 PDF를 다운로드하세요. Cisco WS-C6509 28 페이지. Catalyst 6500 series
Cisco WS-C6509에 대해서도 마찬가지입니다: 업그레이드 매뉴얼 (24 페이지), 데이터시트 (30 페이지)

Position the rivet sleeve over one of the square cutouts on the opacity shield. Refer to
Step 10
rivet fastener placement. Press the rivet sleeve through the cutout, through the opacity shield material,
and through one of the chassis air vent perforations.
Note
Push the rivet pin through the rivet sleeve until you hear a click.
Step 11
Note
Repeat step 10 and step 11 for the remaining three snap rivet fasteners. Refer to
Step 12
fastener placement.
Due to decreased airflow when using the opacity shield, which is required for FIPS 140-2 validation,
Caution
short-term operation as specified by GR-63-CORE at 55º C is impacted. Short-term operation
requirements will only be met at 40º C. Without the opacity shield installed, the system will meet the
short-term operations requirements at 55º C.
We recommend that you replace the opacity shield every three months to prevent dust build-up and the
Caution
possibility of overheating the chassis. If the environment is especially dusty, inspect and replace the
opacity shield more often.
Note
If you need to remove the Catalyst 6509 chassis from the rack, you must first remove the opacity shield.
With the opacity shield installed, the chassis is too wide to slide out of the rack.
Catalyst 6509 Switch, Cisco 7606 Router, and Cisco 7609 Router with VPN Services Module Certification Note
OL-6334-01
You might need to try different cutouts to find the one cutout that aligns correctly with a chassis
air vent perforation.
If you do not hear a click, remove and inspect the snap rivet fastener. If the rivet sleeve appears
expanded or damaged, discard the snap rivet fastener and use a new one from the extras supplied
in the bag of fasteners.
Installing the Opacity Shield on the Catalyst 6509 Switch
Figure 5
Figure 5
for snap
for snap rivet
13
