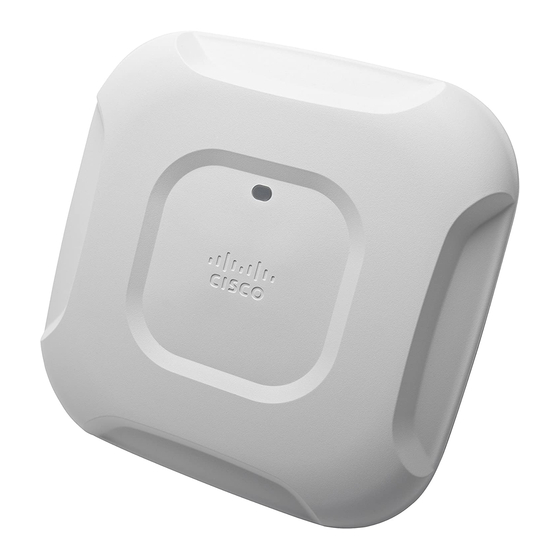
Cisco AIR-CAP3702I-A-K9 시작하기 매뉴얼 - 페이지 15
{카테고리_이름} Cisco AIR-CAP3702I-A-K9에 대한 시작하기 매뉴얼을 온라인으로 검색하거나 PDF를 다운로드하세요. Cisco AIR-CAP3702I-A-K9 45 페이지.

Configure the access point if required. Use the controller CLI, controller GUI, or Cisco Prime
Step 3
Infrastructure to customize the access-point-specific 802.11ac network settings.
If the pre-installation configuration is successful, the Status LED is green indicating normal
Step 4
operation. Disconnect the access point and mount it at the location at which you intend to
deploy it on the wireless network.
If your access point does not indicate normal operation, turn it off and repeat the
Step 5
pre-installation configuration.
When you are installing a Layer 3 access point on a different subnet than the Cisco
Note
wireless LAN controller, be sure that a DHCP server is reachable from the subnet on
which you will be installing the access point, and that the subnet has a route back to
the Cisco wireless LAN controller. Also be sure that the route back to the Cisco
wireless LAN controller has destination UDP ports 5246 and 5247 open for CAPWAP
communications. Ensure that the route back to the primary, secondary, and tertiary
wireless LAN controller allows IP packet fragments. Finally, be sure that if address
translation is used, that the access point and the Cisco wireless LAN controller have
a static 1-to-1 NAT to an outside address. (Port Address Translation is not
supported.)
8
Mounting the Access Point
Cisco Aironet 3702 series access points can be mounted in several configurations, including on a
suspended ceiling, on a hard ceiling or wall, on an electrical or network box, and above a suspended
ceiling. Click this URL to browse to complete access point mounting instructions:
http://www.cisco.com/en/US/docs/wireless/access_point/mounting/guide/apmount.html
9
Deploying the Access Point on the Wireless Network
After you have mounted the access point, follow these steps to deploy it on the wireless network:
Connect and power up the access point.
Step 1
15
