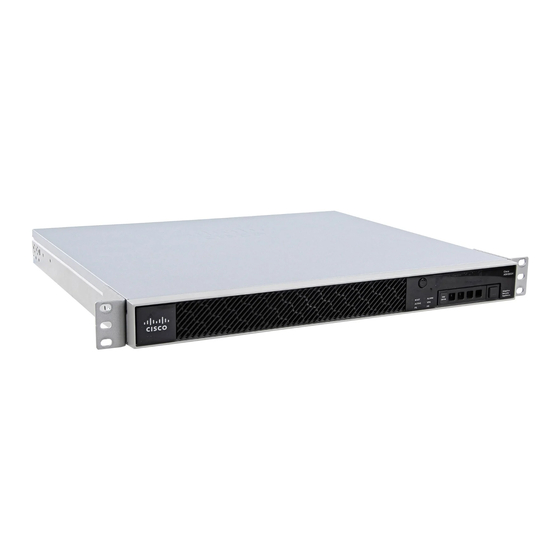
Cisco ASA 5506-X 하드웨어 설치 매뉴얼 - 페이지 21
{카테고리_이름} Cisco ASA 5506-X에 대한 하드웨어 설치 매뉴얼을 온라인으로 검색하거나 PDF를 다운로드하세요. Cisco ASA 5506-X 26 페이지. Threat defense reimage guide
Cisco ASA 5506-X에 대해서도 마찬가지입니다: 빠른 시작 매뉴얼 (10 페이지), 빠른 시작 매뉴얼 (14 페이지), 간편한 설정 매뉴얼 (11 페이지), 소프트웨어 설명서 (37 페이지), 마운트 및 연결 (12 페이지), 설치 매뉴얼 (46 페이지), 섀시 마운트 (10 페이지)

Mount and Connect the ASA
What to Do Next
You can now install the cables and power cord, as described in
Connectivity, on page
Rack Mount the ASA
Follow these steps to mount the ASA to a rack-mount shelf.
Step 1
Place the ASA upside down on a large, stable work area. If you are installing two ASAs in the shelf, place the second
ASA beside the first, also upside down.
Step 2
Invert the sliding trays and position them on top of the ASA(s) such that the front of the device(s) and the front of the
tray are in the same direction.
Step 3
Flip the tray right side up and mount the power supply clamp to the tray using the two screws.
Step 4
Install the power supply in the clamp.
Step 5
Slide the trays back into the shelf.
Step 6
Adjust the position of the first ASA and the tray until the three mounting holes in the dimples in the bottom of the shelf
are aligned with the mounting holes in the bottom of the ASA.
Step 7
Insert mounting screws through the shelf and screw it into the ASA.
Step 8
If mounting a second ASA, repeat Steps 3 and 4.
Step 9
Carefully turn the shelf over and place it on your work surface.
Step 10
Slide the power-supply adapter block into the brackets near the back of the rack-mount tray. Repeat for the second ASA
if necessary.
Step 11
Attach the rack-mount tray to the rack using the supplied screws.
What to Do Next
You can now install the cables and power cord, as described in
Connectivity, on page
Online Only
18.
18.
Rack Mount the ASA
Connect Cables, Turn on Power, and Verify
Connect Cables, Turn on Power, and Verify
Cisco ASA 5506-X Hardware Installation Guide
17
