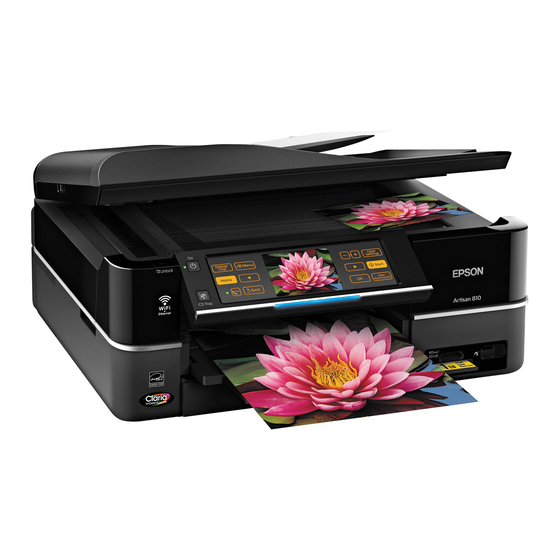
Epson Artisan 810 Series 여기에서 시작하기 매뉴얼 - 페이지 3
{카테고리_이름} Epson Artisan 810 Series에 대한 여기에서 시작하기 매뉴얼을 온라인으로 검색하거나 PDF를 다운로드하세요. Epson Artisan 810 Series 8 페이지. Color inkjet printer
Epson Artisan 810 Series에 대해서도 마찬가지입니다: 네트워크 설치 매뉴얼 (37 페이지), 사양 (2 페이지), 자주 묻는 질문 (4 페이지), 서비스 매뉴얼 (20 페이지)

4
Install ink cartridges
Note:
Do not load paper yet.
1
Lift up the scanner.
2
Unpack the ink cartridges.
3
Remove only the yellow tape from each cartridge.
C aution:
Don't remove any other seals or the cartridges may leak.
4
Insert the cartridges in the holder for each color. Press each cartridge
down until it clicks.
5
Lower the scanner.
6
Wait while ink charges. Charging takes about 5 minutes.
N ote:
Your Artisan 810 Series ships with full cartridges and part of the
ink from the first cartridges is used for priming the Artisan 810 Series.
Replacement cartridges will print more pages.
Caution:
Don't turn off the Artisan 810 Series while the ink system is
initializing or you'll waste ink.
5
Load paper
The paper cassette has 2 trays. The main tray is for letter-size, legal-size,
or 8 x 10-inch paper. The photo tray is for 4 x 6- or 5 x 7-inch photo paper.
1
Pull out the paper cassette. Then slide back the photo tray and lift it up.
