Cisco Small Business AP541N 빠른 시작 매뉴얼 - 페이지 6
{카테고리_이름} Cisco Small Business AP541N에 대한 빠른 시작 매뉴얼을 온라인으로 검색하거나 PDF를 다운로드하세요. Cisco Small Business AP541N 20 페이지. Small business pro series dual-band single-radio access point
Cisco Small Business AP541N에 대해서도 마찬가지입니다: 브로셔 (2 페이지), 빠른 시작 매뉴얼 (17 페이지)
REVIEW DRAFT — CISCO CONFIDENTIAL
3
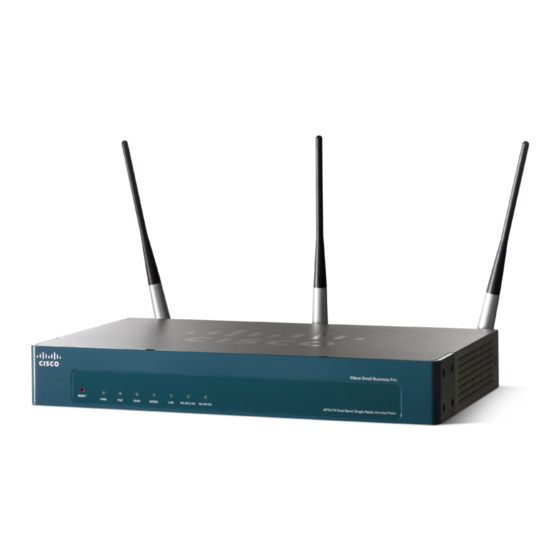
Installing the Cisco AP541N
The access point can be placed on a wall, a flat surface, a ceiling, or in a
ceiling plenum space. A ceiling mount kit is available for this device
SKU#
(
). Do not deploy the device in a location where any of the following
conditions exist:
High Ambient Temperature—The ambient temperature must not
exceed 104 degrees Fahrenheit (40C).
Reduced Air Flow—The air flow must be adequate to prevent
overheating.
Mechanical Overloading—The device should be level, stable, and
secure to avoid it sliding or shifting out of position.
Circuit Overloading—Adding the device to the power outlet or a PoE
port must not overload that circuit or PoE device.
N
We recommend using Cat5e or better cable. Also, do not
OTE
exceed the maximum cabling distance of 328 feet (100
meters).
To place the access point on a desktop, install the four rubber feet
(included) on the bottom of the access point. Place the device on a flat
surface.
To prepare the device, do the following:
Attach the antennas to the RP-TNC connectors labeled ANT101,
S
1
TEP
ANT102, and ANT103. The antennas are all the same, so which
antenna is attached to what connector is of no consequence.
Determine where you want to locate the access point. If you are
S
2
TEP
using AC power, make sure the location is within reach of an AC
power outlet.
Keep enough ventilation space for the access point and check for
S
3
TEP
any environmental restrictions.
Cisco AP541N Dual-band Single-radio Access Point Quick Start Guide
5