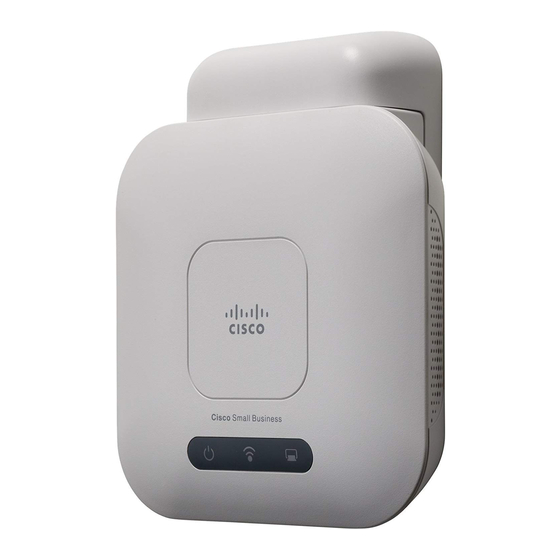
Cisco WAP121 빠른 시작 매뉴얼 - 페이지 8
{카테고리_이름} Cisco WAP121에 대한 빠른 시작 매뉴얼을 온라인으로 검색하거나 PDF를 다운로드하세요. Cisco WAP121 13 페이지. Reboot and reset to factory default settings
Cisco WAP121에 대해서도 마찬가지입니다: 검토 (6 페이지), 데이터시트 (7 페이지), 브로셔 및 사양 (4 페이지), 빠른 시작 매뉴얼 (13 페이지), 매뉴얼 (4 페이지), 매뉴얼 (4 페이지)

Follow the Setup Wizard instructions to finish the WAP device
S
7
TEP
installation. For more advanced configurations, see the
Administration Guide. A link to the Administration Guide is found in
"Where to Go From Here" on page
Congratulations, you can now start using your wireless access point.
Suggested Next Steps
7
In case of an error while installing, try the following troubleshooting
procedures:
Troubleshooting
If you cannot display the configuration utility, you can test the ability of the
computer to communicate with the device by using ping. To use ping on a
computer running Windows:
Verify that the Cisco WAP121 or WAP321 is powered on and the
S
1
TEP
lights indicate the appropriate links.
Locate the device's IP address. While there are different ways to
S
2
TEP
locate your device's IP address, this procedure uses Cisco FindIT.
a.
If you have previously downloaded Cisco FindIT, open Mozilla
Firefox and launch Cisco FindIT. For more information on
downloading Cisco FindIT, see www.cisco.com/go/findit.
b. In the Cisco FindIT display, place your mouse over the device's
name. The device IP address is displayed along with other
device information.
Open a command window by using Start > Run and enter cmd.
S
3
TEP
At the Command window prompt enter ping and the device IP
S
4
TEP
address. In this example, we pinged 192.0.2.10.
If successful, you should get a reply similar to the following:
Pinging 192.0.2.10 with 32 bytes of data:
Reply from 192.0.2.10: bytes=32 time<1ms TTL=128
If it fails, you should get a reply similar to the following:
Pinging 192.0.2.10 with 32 bytes of data:
Request timed out.
8
Cisco Small Business WAP121 and WAP321 Wireless-N Access Point with PoE
11.
