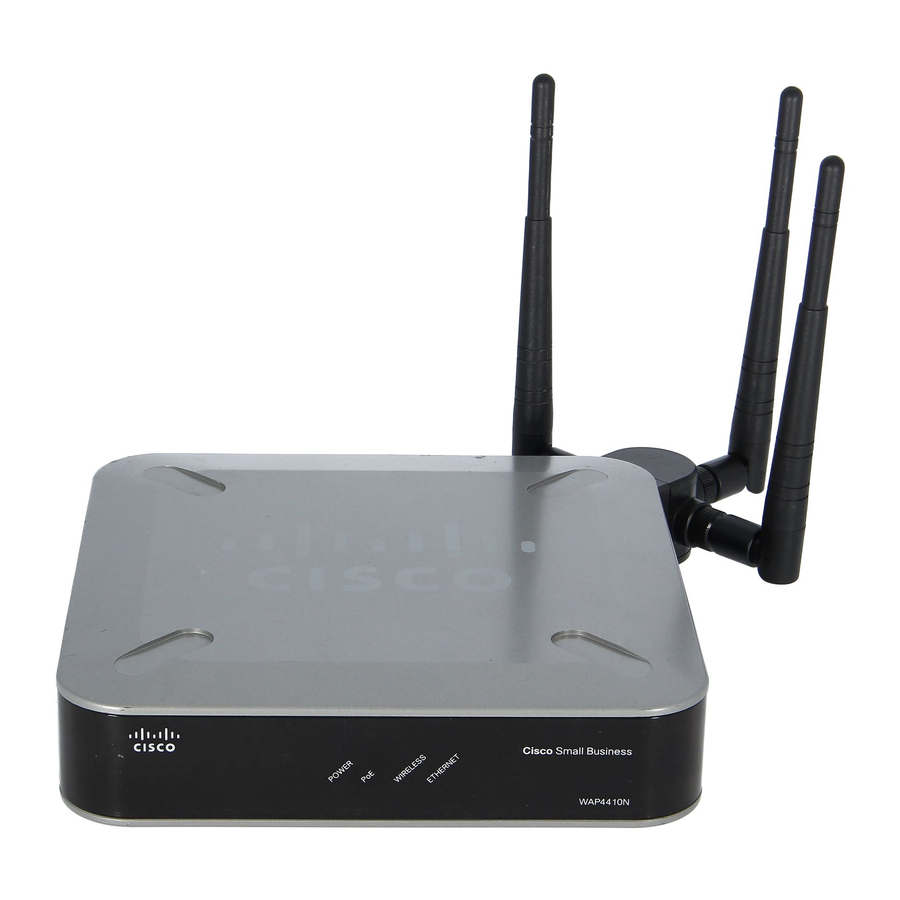
Cisco WAP4410N - Small Business Wireless-N Access Point 빠른 시작 매뉴얼 - 페이지 2
{카테고리_이름} Cisco WAP4410N - Small Business Wireless-N Access Point에 대한 빠른 시작 매뉴얼을 온라인으로 검색하거나 PDF를 다운로드하세요. Cisco WAP4410N - Small Business Wireless-N Access Point 2 페이지. Wireless-n access point with power over ethernet
Cisco WAP4410N - Small Business Wireless-N Access Point에 대해서도 마찬가지입니다: 데이터시트 (5 페이지)

2
Connecting the WAP4410N
Access Point to the Network
You can connect the WAP4410N Access Point to your network in one of the
following ways:
• Using a PoE switch
• Using a standard switch
Americas Headquarters
Cisco Systems, Inc.
170 West Tasman Drive
San Jose, CA 95134-1706
USA
http://www.cisco.com
Tel: 408 526-4000
800 553-NETS (6387)
Fax: 408 527-0883
Cisco, Cisco Systems, the Cisco logo, and the Cisco Systems logo are registered trademarks or
trademarks of Cisco Systems, Inc. and/or its affiliates in the United States and certain other
countries. All other trademarks mentioned in this document or Website are the property of their
respective owners. The use of the word partner does not imply a partnership relationship between
Cisco and any other company. (0705R)
© 2009 Cisco Systems, Inc. All rights reserved.
Printed in the USA on recycled paper containing 10% postconsumer waste.
78-19096-01
Using a PoE Switch to Connect the WAP4410N to the Network
To connect the WAP4410N Access Point to your network using a PoE switch,
simply connect the Ethernet port of the access point to a PoE port on the PoE
switch.
The LEDs on the front panel light up as soon as the WAP4410N Access Point
powers on.
Using a Standard Switch to Connect the WAP4410N to the Network
To connect the WAP4410N Access Point to your network using a standard
switch, follow these steps.
S
1
Use the supplied Ethernet cable to connect the Ethernet port of the
TEP
access point to an Ethernet port on the switch.
S
2
Connect the included power adapter to the Power port of the
TEP
WAP4410N Access Point.
S
3
Plug the power adapter into an electrical outlet.
TEP
The LEDs on the front panel light up as soon as the WAP4410N Access Point
powers on.
3
Configuring the
WAP4410N Access Point
The WAP4410N Access Point works right out of the box with the default
settings. However, you can change these settings to suit your needs by
accessing the access point using a web-based configuration utility.
Launching the Web-Based Configuration Utility
To configure the WAP4410N Access Point, follow these steps to access the
WAP4410N web-based configuration utility from your computer.
S
1
Connect your computer to the same network the WAP4410N Access
TEP
Point is connected to.
S
2
Configure your computer to be on the same subnet as the access point
TEP
(for example 192. 1 68. 1 . 1 99).
By default, the WAP4410N Access Point has an IP address of
192. 1 68. 1 .245 and a default mask of 255.255.255.0.
S
3
Launch a web browser, such as Internet Explorer or Mozilla Firefox.
TEP
S
4
In the Address field enter 192.168.1.245 and press the Enter key.
TEP
S
5
In the User Name and Password fields enter admin.
TEP
The default user name and password is admin.
S
6
Click Log in.
TEP
Upgrading the Firmware
To upgrade the firmware of the WAP4410N Access Point:
S
1
Download the firmware upgrade file from:
TEP
www.cisco.com/en/US/products/ps10052/index.html
S
2
In the configuration utility, Click Administration > Firmware Upgrade.
TEP
S
3
Click Browse, select the firmware upgrade file, and click OK.
TEP
S
4
Click Upgrade and follow the on-screen instructions.
TEP
Configuring the Access Point
When you access the WAP4410N Access Point using the web-based
configuration utility for the first time or after a firmware upgrade, you should
change the default password of the access point to protect it from
unauthorized use. Additionally, depending on your deployment requirements,
you might need to change some of the configuration parameters of the access
point.
For more information on how to change the password and configure the
access point, refer to the
WAP4410N Wireless-N Access Point with Power
Over Ethernet Administration Guide
. This guide is on the CD-ROM that comes
with the product. You can also access this guide and other related
documentation on Cisco.com, as indicated in the next section.
4
Where to Go From Here
Resource
Location
Technical
www.cisco.com/en/US/products/ps10047/
Documentation
tsd_products_support_series_home.html
Firmware Downloads
www.cisco.com/en/US/products/ps10052/index.html
Customer Support
www.cisco.com/en/US/support/
tsd_cisco_small_business_support_center_contacts.h
tml
Warranty and End
www.cisco.com/go/warranty
User License
Agreement
Open Source License
www.cisco.com/go/osln
Notices
Regulatory
www.cisco.com/en/US/products/ps10047/
Compliance and
tsd_products_support_series_home.html
Safety Information
Cisco Partner Central
www.cisco.com/web/partners/sell/smb
site for Small Business
