Epson EcoTank L396 여기에서 시작 - 페이지 2
{카테고리_이름} Epson EcoTank L396에 대한 여기에서 시작을 온라인으로 검색하거나 PDF를 다운로드하세요. Epson EcoTank L396 4 페이지.
Epson EcoTank L396에 대해서도 마찬가지입니다: 무선 설치 매뉴얼 (39 페이지)
6
Carefully seal the bottle using the reverse side of the
bottle tip or screw on the lid for proper disposal.
7
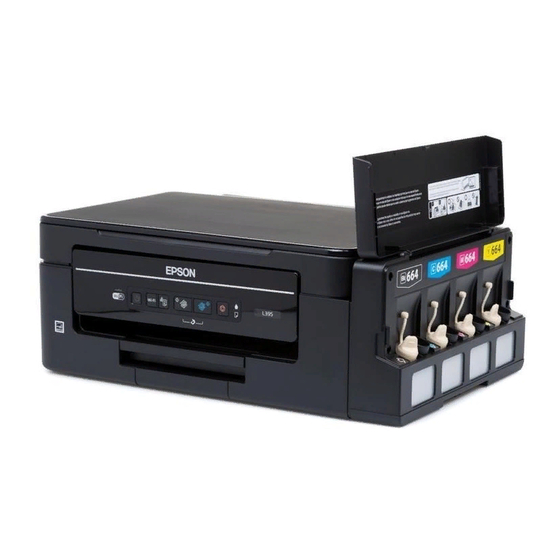
Replace the ink tank cap securely.
8
Repeat the previous steps for the remaining bottles.
9
Close the ink tank cover.
10
Connect the power cord to the back of the product and to
an electrical outlet.
Caution:
Do not connect to your computer yet.
11
Raise the control panel and turn on the product. Wait for
power light to stop flashing, then follow step 12 to
the
continue ink charging.
Note:
If all the product lights are flashing, turn off the product
and check that no protective material has been left inside
the product.
Caution:
Do not lower the control panel without first squeezing
the release bar underneath or you may damage the product.
12
Press and hold the
the
power light starts flashing, to begin charging the
ink. Ink charging takes approximately 20 minutes. Ink
charging is complete when the
flashing.
Note:
The ink bottles included with the printer are designed
for printer setup and not for resale. After some ink is used for
charging, the rest is available for printing.
Caution:
Do not turn off the product or load paper while the
product is charging or you'll waste ink.
3
Load paper
See the online User's Guide for information about loading
capacity and available paper types and sizes.
1
Make sure the product is not charging. Then flip the
feeder guard forward, raise the paper support, and tilt it
backwards slightly.
2
Slide the edge guide to the left.
3
Load paper, glossy or printable side up and short edge
first, against the right side of the rear paper feed slot.
button for 3 seconds until
power light stops
3 seconds
20 minutes