Cisco TelePresence DX70 사용자 설명서 - 페이지 4

{카테고리_이름} Cisco TelePresence DX70에 대한 사용자 설명서을 온라인으로 검색하거나 PDF를 다운로드하세요. Cisco TelePresence DX70 40 페이지. Nhs networked use
Cisco TelePresence DX70에 대해서도 마찬가지입니다: 설치 매뉴얼 (6 페이지), 사용자 설명서 (48 페이지), 빠른 참조 매뉴얼 (2 페이지), 사용자 설명서 (48 페이지), 사용자 설명서 (33 페이지), 사용자 설명서 (14 페이지), 매뉴얼 (43 페이지), 요양원 사용을 위한 설정 (3 페이지), 설정 (2 페이지)
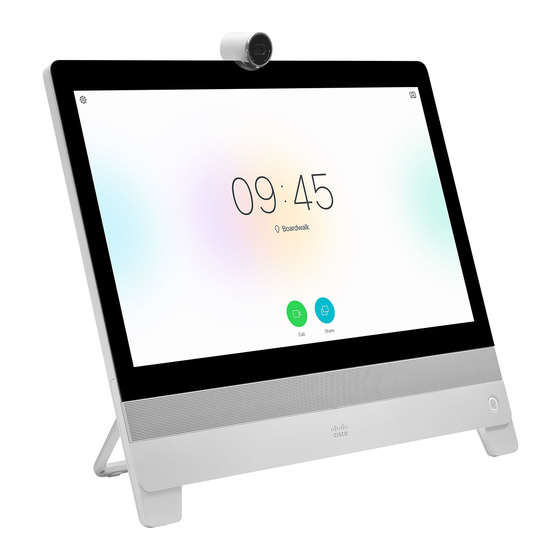
Cisco TelePresence DX70 사용자 설명서

Introduction

A Tour of the Cisco DX70

Use as PC monitor. Use an HDMI cable to
connect your computer to the HDMI socket PC
(see below).
To switch between PC monitor and Video screen,
just tap the screen.
Incoming calls will appear as usual, irrespective
of mode (PC or video) unless Do not disturb is
active, see
"Activate Do Not Disturb" on page
16.
USB ports
 HDMI socket PC
 HDMI socket External Monitor (not in use)
 LAN expansion connection. Connect your PC LAN here
to let your Cisco DX70 and PC share a common LAN
connection
 LAN connection
D1510418 User Guide
 Power supply socket
Cisco TelePresence DX70, DX80
Produced: June 2017 for CE9.0
All contents © 2010–2017
Cisco Systems, Inc. All rights reserved.
Camera with privacy shutter, turn counter-clockwise
to shut and clockwise to open
Microphone mute button and loudspeaker volume
controls
Loudspeaker
SD card slot and connectors for headset and USB.
Note that the DX70 now supports the use of Bluetooth
headsets, see two pages ahead for more.
Power On/Off
Microphone
4

About This User Guide

This user guide applies to both DX70
and DX80. The display of the two
are of different sizes, but the images
displayed on the screens are identical
apart from the size.
For practical purposes, the
screenshots used in this guide have
been inserted into a drawing of the
DX80.