Cisco TelePresence DX70 매뉴얼 - 페이지 4

{카테고리_이름} Cisco TelePresence DX70에 대한 매뉴얼을 온라인으로 검색하거나 PDF를 다운로드하세요. Cisco TelePresence DX70 43 페이지. Nhs networked use
Cisco TelePresence DX70에 대해서도 마찬가지입니다: 설치 매뉴얼 (6 페이지), 사용자 설명서 (48 페이지), 빠른 참조 매뉴얼 (2 페이지), 사용자 설명서 (48 페이지), 사용자 설명서 (33 페이지), 사용자 설명서 (40 페이지), 사용자 설명서 (14 페이지), 요양원 사용을 위한 설정 (3 페이지), 설정 (2 페이지)
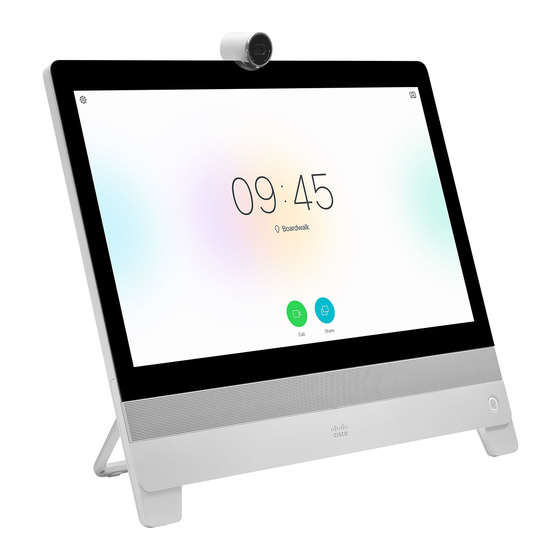
Cisco TelePresence DX70 매뉴얼
Table 1.1 IP Phone Screen Information
1 At the top of the screen is the header row. The header row displays the phone number, current date
and time, as well a number of icons. The icons display when features are active.
2 The middle of the phone screen displays the information associated with the line and feature buttons
on the phone.
3 The bottom row of the screen contains the softkey labels. Each label indicates the action for the
softkey button below the screen.
Audio Path Selection:
When you make or receive a call, the audio path goes to the last device used by you, either the
handset, the headset, or the speakerphone. The following list describes each scenario:
Pick up the handset when you make or answer a call, and all of your calls are routed to your
handset until you select Headset
Select Headset
headset until you pick up the handset or select Speakerphone
If your administrator sets your headset as the audio path on your phone, then you can remove
the handset and use your headset. This is ideal for anyone who prefers the convenience of a
headset. But you must still select Headset the first time you handle a call.
Select Speakerphone
your speakerphone until you pick up the handset or select Headset
or Speakerphone
when you make or answer a call, and all of your calls are routed to your
when you make or answer a call, and all of your calls are routed to
.
.
.