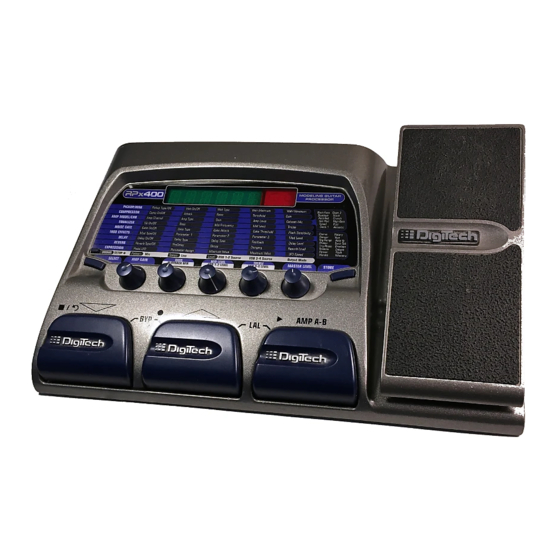
DigiTech RPX400 소프트웨어 설치 매뉴얼 - 페이지 12
{카테고리_이름} DigiTech RPX400에 대한 소프트웨어 설치 매뉴얼을 온라인으로 검색하거나 PDF를 다운로드하세요. DigiTech RPX400 12 페이지. Usb drivers and software installation guide
DigiTech RPX400에 대해서도 마찬가지입니다: 매뉴얼 (6 페이지), 문제 해결 매뉴얼 (6 페이지)

5. Click the OK button when the window stating changes will be saved upon re-start
appears.
6. Close Pro Tracks. When you are prompted to save changes, click No.
7. Re-start Pro Tracks.
8. Close the Tip of the Day and Quick Start windows if they appear.
9. From the Pro Tracks menu bar, select Options>Audio.
10. Verify that the Playback and Record Timing Master settings have DigiT ech USB 1-2
In/Out selected. If not, select these now.
11. Set the number of Virtual Mains to 2.
12. Click the Wave Profiler button at the bottom.
13. Click the Yes button to continue performing the tests.
14. When the profiling operation is successfully completed, click the OK button.
15. Click the OK button to close the Audio Options window if it is still open.
16. One last thing we recommend is enabling the auto save feature. Go to
Options>Global and select the General tab. Next to Auto save every, enter
10 minutes and then click OK.
You are now ready to use the RPx400 with Pro Tracks to record. Enjoy!
18-0234-A
