Sony DCR-SR42 운영 매뉴얼 - 페이지 11
{카테고리_이름} Sony DCR-SR42에 대한 운영 매뉴얼을 온라인으로 검색하거나 PDF를 다운로드하세요. Sony DCR-SR42 40 페이지. Digital video camera recorder
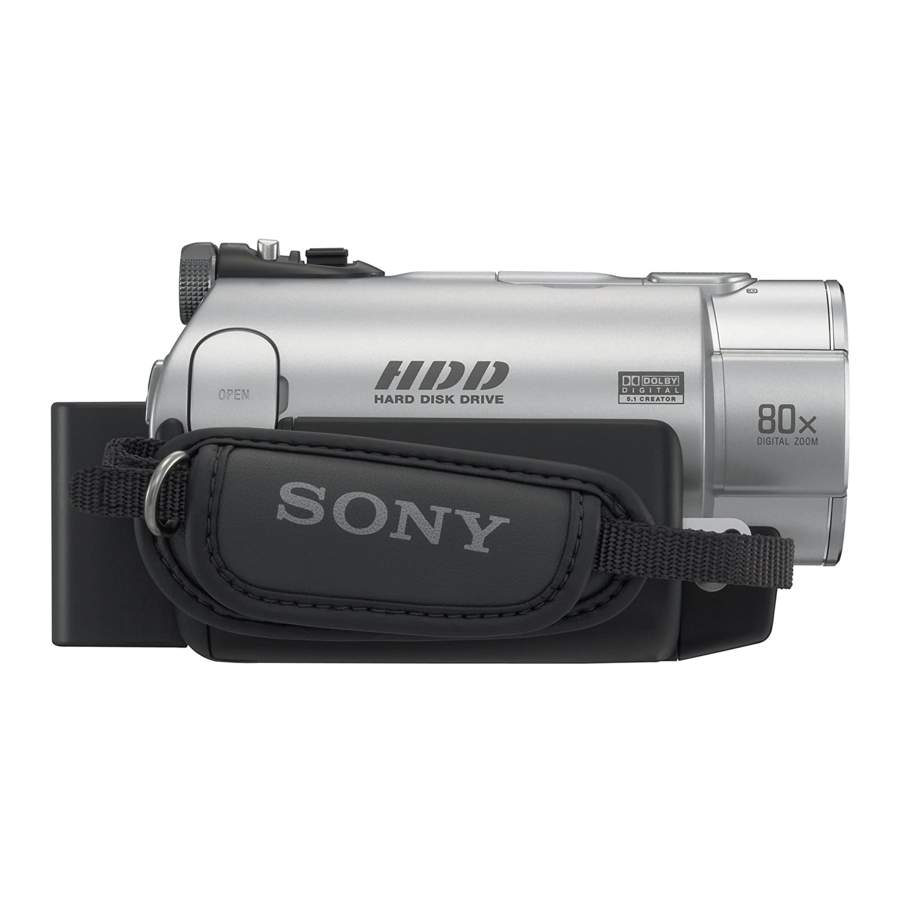
Sony DCR-SR42에 대해서도 마찬가지입니다: 운영 매뉴얼 (40 페이지)
Step 2: Charging the battery pack
Battery pack
You can charge the "InfoLITHIUM"
battery pack (H series) after attaching
it to your camcorder.
• Your camcorder operates only with an
"InfoLITHIUM" battery pack (H series).
1
Attach the battery pack by sliding
it in the direction of the arrow until
it clicks.
2
Turn the POWER switch in the
direction of the arrow to OFF (CHG)
(The default setting).
3
Connect the AC Adaptor to the DC
IN jack on the Handycam Station.
Be sure that the v mark on the DC plug
is facing up.
4
Connect the power cord to the AC
Adaptor and the wall outlet.
DC IN jack
DC plug
POWER
switch
CHG
lamp
AC Adaptor
Power cord
5
Set the camcorder onto the
Handycam Station securely.
The CHG (charge) lamp lights up and
charging starts. The CHG (charge) lamp
turns off when the battery pack is fully
charged. Remove the camcorder from the
Handycam Station.
To remove the battery pack
Turn the POWER switch to OFF (CHG).
Slide the BATT (battery) release lever and
remove the battery pack.
BATT (battery)
release lever
• When you remove the battery pack or the AC
Adaptor, make sure that the
(Still) lamp (p.13) is turned off.
To the
wall outlet
(Movie) lamp/
11