Sony A700 매뉴얼 - 페이지 3
{카테고리_이름} Sony A700에 대한 매뉴얼을 온라인으로 검색하거나 PDF를 다운로드하세요. Sony A700 35 페이지. Expodisc custom white balance procedures
Sony A700에 대해서도 마찬가지입니다: 기능 설명서 (3 페이지), 빠른 시작 매뉴얼 (6 페이지)

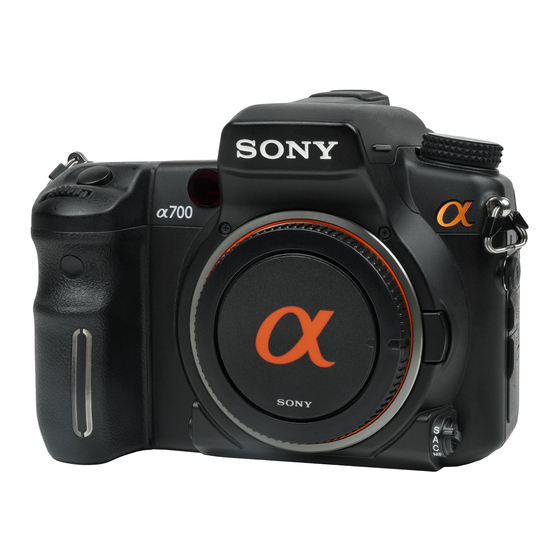
Depth of field preview button.
After the subject is in focus, press-
ing the Depth of field preview but-
ton changes the view to show the
actual aperture used. Note that the
image is darker in the viewfinder
because less light is passing
through the lens.
For more detailed information
on depth of field and aperture,
see Chapter 3.
Focus mode lever. This is where
the Focus mode for the camera is
set. The four choices are S, the
Single-Shot Auto Focus mode; A,
the Automatic Auto Focus mode; C,
the Continuous Auto Focus mode;
and MF, the Manual Focus mode.
Mirror. The mirror reflects the light
that is passing through the lens up
to the viewfinder and lets the pho-
tographer see what the camera
sees. When the Shutter button is
pressed, the mirror moves out of
the way so the light can reach the
sensor. The mirror is inside the
camera body and should not be
touched.
Lens mount release button.
When pressed, this button unlocks
the lens mount so the lens can be
removed.
Lens mount. This is where you
attach the lens. The Sony lens
mount is based on the Minolta A-
type lens mount and can accept all
Sony camera lenses and a variety
of older Minolta A-type lenses.
Lens contacts. These contacts
communicate between the camera
lens and the camera body.
Chapter 1
Exploring the Sony Alpha A700
On top
The top of the A700 differs from most digi-
tal cameras; it doesn't have any display
screen. The space saved by this is used
for dedicated buttons that control the ISO,
Drive mode, and white balance.
Strap mounting point. One of the
two mounting points for the cam-
era strap.
Auto focus illuminator / Self-
timer lamp. The auto focus illumi-
nator helps the camera's auto
focus system work in low light or
with low-contrast subjects. When
the Shutter button is pressed
halfway down, the illuminator
emits a red light until the focus is
locked on. This light has a range
of 3.3 to 23 feet (1 to 7 meters).
This light can be turned off in the
Recording menu. The Self-timer
lamp flashes when the 10-second
self-timer is used. The Self-timer is
accessed in the Drive mode.
The Recording menu and the self-
timer are covered in Chapter 2.
Mode dial. This is where you set
the Recording mode on the camera.
The choices are Auto, a fully auto-
matic mode; P, Program Auto mode;
A, Aperture Priority mode; S, Shutter
Speed Priority mode; M, Manual
mode; MR, Memory Recall mode; or
one of the six scene modes.
13
