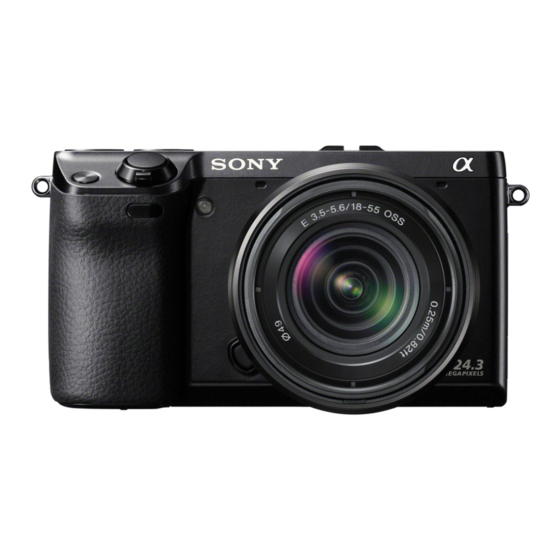
Sony NEX-7K 서비스 매뉴얼 - 페이지 7
{카테고리_이름} Sony NEX-7K에 대한 서비스 매뉴얼을 온라인으로 검색하거나 PDF를 다운로드하세요. Sony NEX-7K 20 페이지. Interchangeable lens digital camera
Sony NEX-7K에 대해서도 마찬가지입니다: 브로셔 및 사양 (17 페이지), 사양 (35 페이지), 제한 보증 (1 페이지)

2-1. EXPLODED VIEWS
2-1-1. REAR SECTION
Adjust the position.
2-1
#242
1
7
LCD Section
(See page 2-5)
4-1
2-2
#242
4-2
Adjust the position.
Ref. No.
Part No.
Description
1
4-300-399-01
BUTTON (SK) (600)
2
4-300-387-01
SHEET (SK BUTTON) (600)
3
X-2582-867-1
CABINET (REAR) ASSY (600)
4
4-300-405-01
SHEET (SK CAP) (600)
5
4-300-400-01
CAP (SK BUTTON) (600)
NEX-7/7K_L2
2
Top Section
(See page 2-4)
Be careful not to make scars on the unit with a
screwdriver when removing the Top Section.
#242
3
6
(Note)
1
Adjust the position.
2
4
5
#242
#242
#242
#242
Ref. No.
Part No.
Description
6
4-292-101-01
BUTTON, REC (Note)
7
4-400-730-01
COVER (600), SHOE
#242
4-178-124-81
SPECIAL (M1.4 (D2.75))
DISASSEMBLY
1. Remove to numerical order (
2
#242 X 1 : Popup the Strobo (2-1) : #242 X 3 : Open the BT Lid (2-2) : #242 X 2
Right View
#242
3
DISCHARGING OF THE CHARGING CAPACITOR
4
Open the HDMI Lid (4-1) : #242 X 1 : Open the BT Lid (4-2) : #242 X 3
Right View
#242
4-1
#242
4
3
Screw
#242: M1.4 X 3.5
(Black)
4-178-124-81
1.4
3.5
Note
Note:
Refer to "Assembly-9:Installation Cautions of the Rec
Button." when you assemble.
2-3
1
4
to
) in the left figure.
Top View
Back View
#242
#242
2-1
µÄéØ;F?¯ïÃï±wL?
Bottom View
Right View
4-2
#242
Open LCD at the angle
shown below.
ÊqÌxlAssembly-9:Installation Cautions of the Rec But-
Note:
ton.z°`oXi^M{
Bottom View
#242
2-2
Remove Cabinet (Rear) Assy
while turning it in the
direction indicated by arrows.
