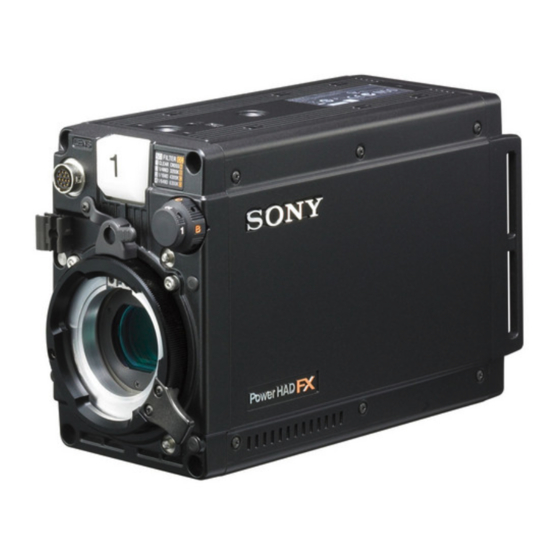
Sony Power HADFX HDC-P1 운영 매뉴얼 - 페이지 14
{카테고리_이름} Sony Power HADFX HDC-P1에 대한 운영 매뉴얼을 온라인으로 검색하거나 PDF를 다운로드하세요. Sony Power HADFX HDC-P1 36 페이지. Hd multi purpose camera
Sony Power HADFX HDC-P1에 대해서도 마찬가지입니다: 브로셔 (36 페이지), 브로셔 (4 페이지), 브로셔 (4 페이지), 브로셔 (2 페이지)

CNS SETTINGS (MAINTENANCE menu)
<CNS SETTINGS>
CNS MODE
CCU NO
MASTER IP ADDRESS:
0.
CNS MODE: Sets the control system connection mode.
LEGACY: Sets the mode to the LEGACY mode.
BRIDGE: Sets the mode to the BRIDGE mode.
MCS: Sets the mode to the MCS mode.
CCU NO: Set the device number (camera number) of the
camera when using the MCS mode. Set a number that is
not a duplicate of any of the CCU device numbers in the
system.
MASTER IP ADDRESS: Set the IP address of the master
device for MCS mode.
Resetting the network configuration
information
<NETWORK RESET>
NETWORK ALL RESET
NETWORK ALL RESET: Restore the network related
information to the default state.
Adjusting the Flange Focal Length
Adjustment of the flange focal length (the distance between
the lens mount attachment plane and the imaging plane) is
necessary in the following situations:
• The first time a lens is attached
• When changing lenses
• If the focus is not sharp at both telephoto and wide angle
when zooming
The flange focal length can be more precisely adjusted by
using the focus assist indicators.
See "Displaying the focus assist indicators" (page 15) for the
focus assist indicators.
Note
The various parts of the lens used in adjusting the flange focal
length are in different positions on different lenses. Refer to the
operation manual for the lens.
1
Set the iris control to manual and open the iris fully.
14
Preparatory Settings
M17 TOP
: LEGACY
: 0
0.
0.
0
SET
M18 TOP
2
Place a flange focal length adjustment chart
approximately 3 meters from the camera and adjust
the lighting to get an appropriate video output level.
About 3 meters
(10 ft)
3
Loosen the Ff (flange focal length) ring lock screw.
4
With either manual or power zoom, set the zoom ring
to telephoto.
5
Aim at the flange focal length adjustment chart and
turn the focus ring to focus the image.
6
Set the zoom ring to wide angle.
7
Turn the Ff ring to bring the chart into focus.
Take care not to move the distance ring.
8
Repeat steps 4 through 7 until the image is in focus at
both telephoto and wide angle.
9
Tighten the Ff ring lock screw.
Setting the Focus Assist Function
Using the OPERATION menu, the assist functions for easier
focusing on the monitor screen can be activated.
Note
When using the focus assist functions, connect a monitor to
the SDI 2 connector and set camera output to HD-SDI.
For details on the adjustment, see "Setting the Camera
Outputs" (page 12).
Adding a VF detail signal
Adding a VF detail signal to sharp edges in the image on the
monitor screen makes it easier to check the focusing condition
by observing changes in the detail signal or in the color
converted from the detail signal (color detail).
The focus setting where the detail signal becomes strongest is
the best focus setting.
1
Turn on the camera.
2
Set the DISPLAY/MENU switch to MENU while holding
the menu control knob pressed.
The camera enters Menu mode, and "TOP" is displayed at
the upper right corner of the screen.
