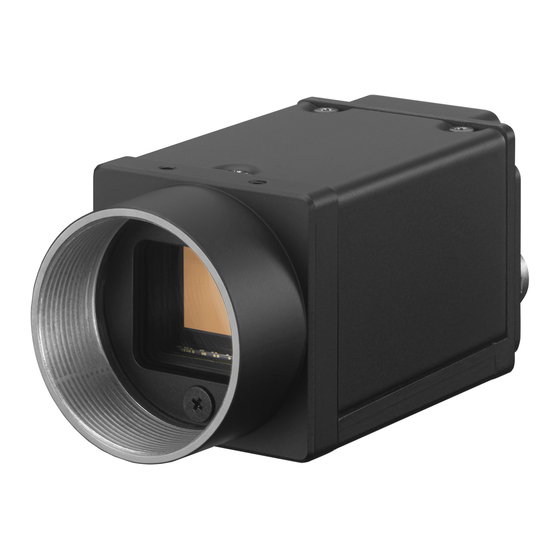
Sony XPL-SDKW 사용자 설명서 - 페이지 5
{카테고리_이름} Sony XPL-SDKW에 대한 사용자 설명서을 온라인으로 검색하거나 PDF를 다운로드하세요. Sony XPL-SDKW 9 페이지. Equipped with the global shutter polarization cmos sensor gige vision

Spectral Sensitivity Characteristics
• XCG-CP510
(Lens characteristics and light source characteristics excluded.)
Relative sensitivity
1.0
0.8
0.6
0.4
0.2
0.0
400
500
Location and Function of Parts and Controls
1 Lens mount (C-mount)
Attach any C-mount lens or other optical equipment.
Note
Use a C-mount lens with a protrusion (a) extending from the lens
mount face (b) of 10 mm (13/32 inch) or less.
2 Guide screw holes (Top)
3 Guide screw holes/Tripod screw holes (bottom)
When using a tripod, use these four screw holes to attach
a VCT-333I tripod adaptor.
4 Reference screw holes (bottom)
These precision screw holes are for locking the camera
module. Locking the camera module into these holes
secures the optical axis alignment.
30
XCG-CP510/XPL-SDKW
800
600
700
Wavelength (nm)
1
2
a
3
4
900
Rear Panel/Pin Assignments
5
b
5 DC IN (DC power input) connector (6-pin)
You can connect a camera cable to input the +12 V DC power
supply. The pin configuration of this connector is as follows.
(Refer to Fig. 6 above for the pin assignment of the
Pin No.
1
2
3
* only XCG-CG160/CG160C
6 RJ45 connector
You can connect a LAN cable to this connector to control the
camera module from a host device to output image to a host
device. By using a PoE-compatible LAN cable and camera
module interface board or hub, you can supply power using the
LAN cable.
Note
For safety, do not connect the connector for peripheral device
wiring that might have excessive voltage to this port.
7 Reset switch
The camera can be reset to the factory setting by pressing the
reset switch for more than 3 seconds while the power is turned
on.
8 Status LED (Green)
This button is lit when power is being supplied to the camera.
Various settings linked with GPO are available, such as to light
up when interlocking with the trigger signal.
This button blinks when the network is disconnected, or while 1P
is being acquired.
6
Signal
Pin No.
DC input
4
(10.5 V to 15 V)
GPI1 (ISO +)
5
GPI2/GPO2
6
7
8
connector.)
Signal
GPI3/GPO3
(GPO3 (ISO +)*)
GPI1 (ISO –)
GND
2020
