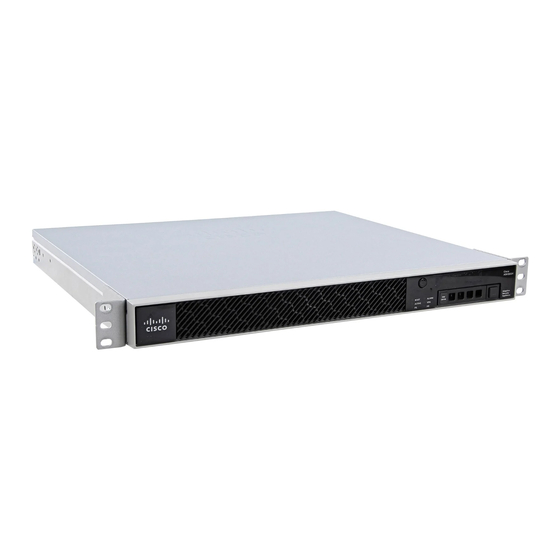
Cisco ASA 5506-X 소프트웨어 설명서 - 페이지 16
{카테고리_이름} Cisco ASA 5506-X에 대한 소프트웨어 설명서을 온라인으로 검색하거나 PDF를 다운로드하세요. Cisco ASA 5506-X 37 페이지. Threat defense reimage guide
Cisco ASA 5506-X에 대해서도 마찬가지입니다: 빠른 시작 매뉴얼 (10 페이지), 빠른 시작 매뉴얼 (14 페이지), 간편한 설정 매뉴얼 (11 페이지), 마운트 및 연결 (12 페이지), 설치 매뉴얼 (46 페이지), 섀시 마운트 (10 페이지), 하드웨어 설치 매뉴얼 (26 페이지)

Reimage from Firepower Threat Defense to ASA
IMAGE=asalatest-lfbff-k8.SPA
CONFIG=
LINKTIMEOUT=20
PKTTIMEOUT=4
RETRY=20
rommon 8 > sync
Updating NVRAM Parameters...
rommon 9 > tftpdnld
Example:
Ping to troubleshoot connectivity to the server:
rommon 1 > ping 10.123.123.2
Sending 10, 32-byte ICMP Echoes to 10.123.123.2 timeout is 4 seconds
!!!!!!!!!!
Success rate is 100 percent (10/10)
rommon 2 >
Step 8
Configure network settings and prepare the disks.
When the ASA first boots up, it does not have any configuration on it. you can either follow the interactive
prompts to configure the Management interface for ASDM access, or you can paste a saved configuration or,
if you do not have a saved configuration, the recommended configuration (below).
If you do not have a saved configuration, we suggest pasting the recommended configuration if you are
planning to use the ASA FirePOWER module. The ASA FirePOWER module is managed on the Management
interface and needs to reach the internet for updates. The simple, recommended network deployment includes
an inside switch that lets you connect Management (for FirePOWER management only), an inside interface
(for ASA management and inside traffic), and your management PC to the same inside network. See the quick
start guide for more information about the network deployment:
•
http://www.cisco.com/go/asa5506x-quick
•
http://www.cisco.com/go/asa5508x-quick
•
http://www.cisco.com/go/asa5500x-quick
a) At the ASA console prompt, you are prompted to provide some configuration for the Management interface.
Pre-configure Firewall now through interactive prompts [yes]?
If you want to paste a configuration or create the recommended configuration for a simple network
deployment, then enter no and continue with the procedure.
If you want to configure the Management interface so you can connect to ASDM, enter yes, and follow
the prompts.
b) At the console prompt, access privileged EXEC mode.
enable
The following prompt appears:
Password:
Cisco ASA and Firepower Threat Defense Reimage Guide
16
Cisco ASA and Firepower Threat Defense Reimage Guide
