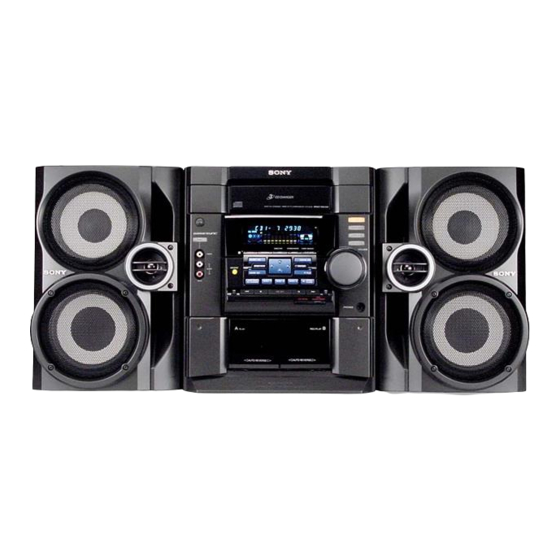
Sony MHC-RG40 - Mini Hi-fi Component System 사용 설명서 - 페이지 20
{카테고리_이름} Sony MHC-RG40 - Mini Hi-fi Component System에 대한 사용 설명서을 온라인으로 검색하거나 PDF를 다운로드하세요. Sony MHC-RG40 - Mini Hi-fi Component System 32 페이지. Sony mhc-dx30 stereo system: system manual
Sony MHC-RG40 - Mini Hi-fi Component System에 대해서도 마찬가지입니다: 사용 설명서 (32 페이지), 서비스 매뉴얼 (2 페이지)

Singing along: Karaoke (continued)
3
Press KARAOKE PON repeatedly to obtain
the karaoke effect you desire.
Every time you press the button, the display
changes cyclically as follows:
KARAOKE PON y Effect status*
* KARAOKE PON is canceled.
4
Start playing the music.
5
Adjust the microphone volume by
turning MIC LEVEL.
After you have finished
Turn MIC LEVEL to MIN and disconnect the
microphone from MIC, then press KARAOKE
PON repeatedly until "KARAOKE PON"
disappears.
Notes
• With some songs, vocals may not be canceled when
you select "KARAOKE PON".
• During KARAOKE PON, equalizer and surround
settings cannot be changed.
• If you press MUSIC EQ, MOVIE EQ, GAME EQ
or EFFECT ON/OFF (or PRESET EQ on the
remote) or recall a sound effect, the karaoke mode
is canceled.
• The instrumental sound may be reduced as well as
the singer's voice when the sound is recorded in
monaural.
• The singer's voice may not be reduced when:
– only a few instruments are playing.
– a duet is being played.
– the source has strong echoes or chorus.
– the singer's voice deviates from the center.
– the voice on the source is singing in high soprano
or tenor.
20
Mixing and recording sounds
1
Do the procedure for "Singing along"
(steps 1 through 5). Then, load a
recordable tape in deck B.
2
Press the function button of the source
you want to record (e.g., CD).
When you want to record from TAPE A,
press TAPE A/B repeatedly until TAPE A
is selected.
3
Press REC PAUSE/START.
Deck B stands by for recording. The
indicator on REC PAUSE/START flashes.
4
Press DIRECTION repeatedly to select
g to record on one side. Select j
(or RELAY) to record on both sides.
5
Press REC PAUSE/START.
Recording starts.
6
Press nN to start playing the source
to be recorded.
Start singing along with the music.
To stop recording
Press x.
Tips
• If acoustic feedback (howling) occurs, move the
microphone away from the speakers or change the
direction of the microphone.
• If you want to record your voice through the
microphone only, you can do so by selecting the
CD function and not playing a CD.
• When high level sound signals are input, the system
automatically adjusts the recording level to prevent
distortion of the recorded sound signal (Auto Level
Control function).
