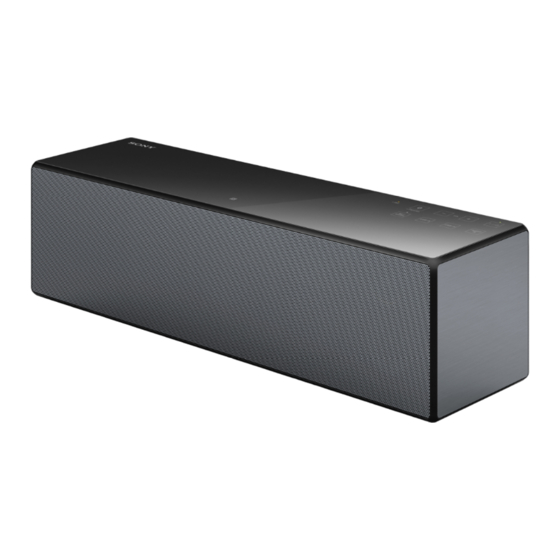
Sony SRS-X88 서비스 매뉴얼 - 페이지 23
{카테고리_이름} Sony SRS-X88에 대한 서비스 매뉴얼을 온라인으로 검색하거나 PDF를 다운로드하세요. Sony SRS-X88 40 페이지. Personal audio system
Sony SRS-X88에 대해서도 마찬가지입니다: 사용 설명서 (28 페이지), 시작 매뉴얼 (2 페이지), 사용 설명서 (41 페이지), 시작 매뉴얼 (2 페이지)

2-18. JACK BOARD
2 two screws
(BTTP M2.6
3 Lift up the JACK board block
in the direction of the arrow.
9 MAIN board CN103 cable
connector 11pin (CN1506)
8 MAIN board CN403 cable
connector 6pin (CN1503)
5 Cut the binding band (taiton).
7 MAIN board
B
CN100 cable
connector
A
3pin
(CN1504)
6 MAIN board
CN404 cable
connector 4pin
(CN1507)
–
–
Note 2: During reassembly, use new binding
band (taiton) to fasten the wires back
in place as they were before
disassembly.
guide line
binding band (taiton)
Insert the connector straight into the interior.
There is a possibility that using this unit without
the connector correctly installed will damage it.
OK
Insert straight into
the interior.
connector
connector
2 screw
(BTTP M2.6
1 screw
(B3
6)
8)
A
B
C
Note 3: Pull the wires in the direction
screw hole
(hexagon support (15))
NG
Insert only part way.
Insert at a slant.
connector
connector
connector
connector
0.5 mm
CN1501
8)
0.5 mm
2 screw
C
(BTTP M2.6
8)
4 MAIN board CN508
cable connector 4pin
(CN1508)
of the arrow so that the screw
hole is not obstruct.
wire
NG
SRS-X88
JACK board
J1503
0.5 mm
0.5 mm 0.5 mm
qs JACK board
qa four sheets (1)
Note 1: Lay a soft piece of cloth
under the unit to avoid
damaging the top panel.
0 MAIN board CN101
cable connector 3pin
(CN1505)
Note 5: Install the JACK board while
bending the wires into an
S shape.
Note 4: Bend the wires at 5 mm
position from the connector.
5 mm
NG
The wires are twisted.
23
