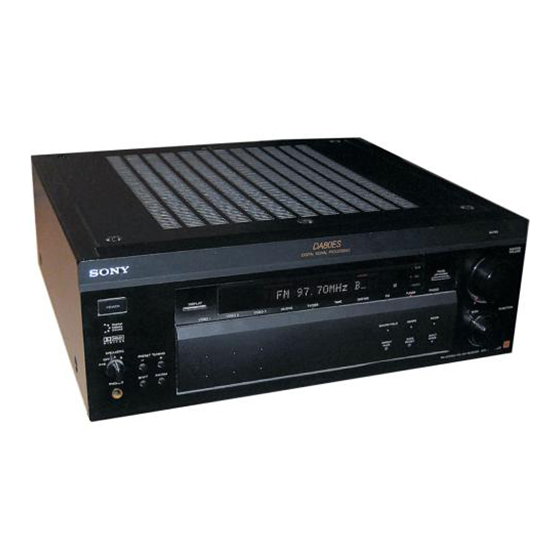
Sony STR-DA80ES - Fm Stereo / Fm-am Receiver 사용 설명서 - 페이지 15
{카테고리_이름} Sony STR-DA80ES - Fm Stereo / Fm-am Receiver에 대한 사용 설명서을 온라인으로 검색하거나 PDF를 다운로드하세요. Sony STR-DA80ES - Fm Stereo / Fm-am Receiver 40 페이지. Limited warranty (es products)
Sony STR-DA80ES - Fm Stereo / Fm-am Receiver에 대해서도 마찬가지입니다: 사용 설명서 (39 페이지), 기술적 배경 (38 페이지), 제한 보증 (1 페이지)

If the component does not turn on
Press the power switch on the component.
2
Start playing.
See "Remote Button Descriptions" on page 36 for
details.
To turn off the components
Press SYSTEM OFF. This will also turn off the video/
audio component(s) connected to AC OUTLET on the
back of this unit at the same time.
z
If you use a Sony TV
When you press TV to watch a TV program, the TV
turns on and switches to the TV input. The TV also
turns on automatically and switches to the appropriate
video input when you press VIDEO 1 or VIDEO 2. If the
TV does not switch to the appropriate input
automatically, press TV/VIDEO on the remote.
z
Watching TV without the receiver (for Sony TVs only)
Press TV CONTROL ON to set the remote to operate TV
functions only. When you press this button, the TV
turns on and switches to the TV input. If the TV does
not automatically switch to the TV input, press TV/
VIDEO.
Making components selectable/
unselectable
You can do these settings so that certain components
become unselectable even if you rotate FUNCTION.
1
Press SET UP repeatedly to select FUNCTION
HOOKUP.
2
Use the digital processing control buttons ( V / v )
to select a component.
3
Use the digital processing control buttons ( B /
b ) to select YES (selectable) or NO (unselectable).
Notes
• When the receiver accepts the signal from the S-LINK
CTRL A1 jack to select that component which is set to NO
on the receiver, the setting changes to YES automatically
and the component is selected (USA and Canadian models
only).
• If you try to select the component which is set to NO using
the remote, "NO CONNECTION" appears in the display.
Receiver Operations
Receiving Broadcasts
This receiver lets you enter a station's frequency
directly by using the numeric buttons (direct tuning). If
you don't know the frequency of the station you want,
see "Receiving broadcasts by scanning stations
(automatic tuning)"on page 16.
Before you begin, make sure you have:
• Connected an FM/AM antenna to the receiver as
indicated on page 5.
• Selected the appropriate speaker system. (For details,
see "Selecting the speaker system" on page 9.)
POWER
DISPLAY
FM MODE
POWER
DISPLAY
VIDEO 1
VIDEO 2
VIDEO 3
LD/DVD
TV/DBS
{MEMORY}
S-VIDEO
VIDEO
L
AUDIO
R
VIDEO 3
FM MODE
TUNING
INPUT
–
+
SPEAKERS
A
OFF
B
PRESET TUNING
A
+
B
–
+
SHIFT
FM/AM
PHONES
FM/AM
TUNING
1
Press POWER to turn on the receiver.
2
Rotate FUNCTION until the TUNER indicator
lights up.
The last received station is tuned in.
3
Press FM/AM to select FM or AM stations.
4
Press D.TUNING on the remote.
5
Press the numeric buttons on the remote to enter
the frequency.
Example 1: FM 102.50 MHz
b
b
b
b
1
0
2
5
0
Example 2: AM 1350kHz
(You don't have to enter the last "0." (USA and
Canadian models only))
1
b
3
b
5
6
When you tune in AM stations, adjust the
direction of the AM loop antenna for optimum
reception.
To receive other stations
Repeat Steps 3 to 5.
Getting Started
MUTING
MASTER VOL
SUR
PANEL
EQ
UP/DOWN
INDEX
TAPE
DAT/MD
CD
TUNER
PHONO
EQUALIZER
DPC
SET UP
BALANCE
MODE
•
BAND
CH
B
b
0
10
L
R
MODE
FUNCTION
SOUND FIELD
GENRE
MODE
DIRECT
BASS
INPUT
PASS
BOOST
MODE
+
–
/
FUNCTION
(Continued)
15
