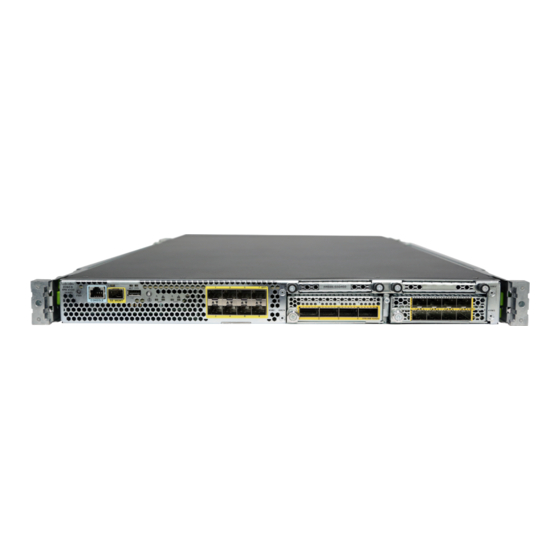
Cisco Firepower 4150 시작하기 - 페이지 16
{카테고리_이름} Cisco Firepower 4150에 대한 시작하기을 온라인으로 검색하거나 PDF를 다운로드하세요. Cisco Firepower 4150 42 페이지. Rack-mount and ground the chassis
Cisco Firepower 4150에 대해서도 마찬가지입니다: 유지 관리 및 업그레이드 매뉴얼 (20 페이지), 매뉴얼 (36 페이지), 매뉴얼 (26 페이지), 매뉴얼 (8 페이지), 매뉴얼 (42 페이지)

Cabling for the Secure Firewall 3100
Cabling for the Secure Firewall 3100
Figure 4: Cabling the Secure Firewall 3100
Manage the FTD device on either Management 1/1 or Ethernet 1/2. The default configuration also configures
Ethernet1/1 as outside.
• Connect your management computer to either of the following interfaces:
Note
• Connect the outside network to the Ethernet1/1 interface.
• Connect other networks to the remaining interfaces.
Getting Started
16
• Ethernet 1/2—Connect your management computer directly to Ethernet 1/2 for initial configuration,
or connect Ethernet 1/2 to your inside network. Ethernet 1/2 has a default IP address (192.168.95.1)
and also runs a DHCP server to provide IP addresses to clients (including the management computer),
so make sure these settings do not conflict with any existing inside network settings.
• Management 1/1—Connect Management 1/1 to your management network, and make sure your
management computer is on—or has access to—the management network. Management 1/1 obtains
an IP address from a DHCP server on your management network; if you use this interface, you must
determine the IP address assigned to the firewall so that you can connect to the IP address from
your management computer.
If you need to change the Management 1/1 IP address from the default to configure a static IP
address, you must also cable your management computer to the console port. See
Management Network Settings at the CLI, on page
Management 1/1 is a 10-Gb fiber interface that requires an SFP module.
By default, the IP address is obtained using IPv4 DHCP and IPv6 autoconfiguration, but you can set a
static address during initial configuration.
21.
Getting Started
(Optional) Change
