Digitrax PR3 XtRa 빠른 시작 매뉴얼 - 페이지 2
{카테고리_이름} Digitrax PR3 XtRa에 대한 빠른 시작 매뉴얼을 온라인으로 검색하거나 PDF를 다운로드하세요. Digitrax PR3 XtRa 8 페이지. Decoder programmer. usb programmer/interface

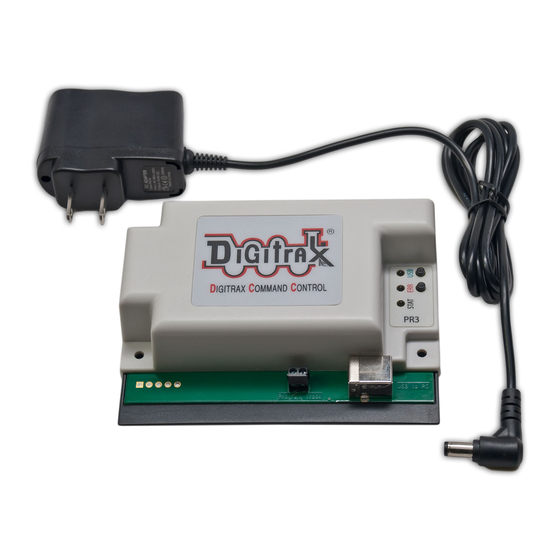
PR3 Xtra Hardware Setup
SoundLoader and PR3 Xtra have been tested to work on PC compatible com-
puters running 550MHz and up, Windows XP, Vista, 2000, 7, 8, 8.1 and 10,
512MB of RAM.
Other combinations of hardware and software may also work, but are not sup-
ported by Digitrax, and have not been tested to operate properly.
Installation consists of three steps: (a) Hardware installation, (b) Software
Driver installation, (c) Software setup. Below is a photograph of the actual
hardware connections required for SoundFX programming:
PS14
Power supply
DCC decoder equipped
locomotive on track
The connection diagram on the following page will help you install the hard-
ware correctly. Assemble the PR3 Xtra hardware as shown and connect to the
Digitrax PS14. Input voltage to the PR3 Xtra should not exceed 15vdc other-
wise damage to your sound decoder may occur. Note for MS100 mode, the
PR3 Xtra must be connected to the Command Station with LocoNet.
For Stand Alone programming, no LocoNet connection is required.
©2013 Digitrax, Inc.
Complete Train Control
Run Your Trains, Not Your Track!
(Do not exceed 15 vdc)
www.digitrax.com
LocoNet connections for
MS100 Mode (in back of unit)
PR3 Xtra USB Connection
USB Connection to PC
Stand Alone
Programming
Connection
2
