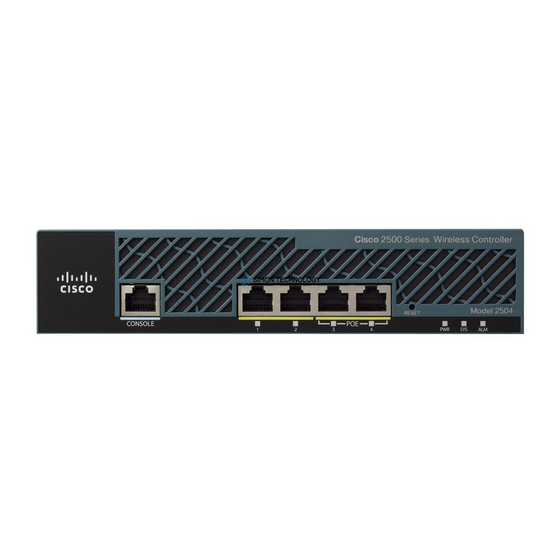
Cisco 2500 Series 구성 매뉴얼 - 페이지 10
{카테고리_이름} Cisco 2500 Series에 대한 구성 매뉴얼을 온라인으로 검색하거나 PDF를 다운로드하세요. Cisco 2500 Series 50 페이지. Wireless controller
Cisco 2500 Series에 대해서도 마찬가지입니다: 설치 매뉴얼 (12 페이지), 구성 매뉴얼 (19 페이지), 배포 매뉴얼 (23 페이지), 시작하기 매뉴얼 (47 페이지)

Spectralink VIEW Certified Configuration Guide: Cisco Controllers and APs
Configuring a New Controller Starting from Factory
Defaults
Initial provisioning of the controller is done via the command line interface (CLI).
1
Connect a null modem serial cable between the console port of the controller and the
serial port of a PC.
2
Open a terminal program, such as Hyper Terminal, and configure the port settings to
9600 baud, no parity, 8 data bits and 1 stop bit.
Power-on the controller. Status of the controller's boot process will appear as the
3
controller is powering up. Once the controller is running, it will prompt you to run the
Startup Wizard.
4
The Startup Wizard provides for an easy means to perform initial controller setup and
provisioning. Refer to the Installation and Startup Guide for the appropriate controller,
found at Cisco's website. This document contains a detailed explanation of using the
Startup Wizard for the 5500. Once the controller has been configured via the Startup
Wizard, the remaining configuration can be configured through the switch-web interface
using a Web browser.
5
If necessary, the controller can be reset to factory defaults. To reset the WLC to factory
default, you must reboot, then type Recover-config at the CLI. This only works before the
first time a user logs in via the console.
A few advanced commands must be set from the command line interface after the rest of the
controller has been configured. These are noted in the instructions below.
Connecting to the Controller Via a Browser
1
Connect to the WLC by pointing your internet browser to the URL: https<IP_Addr>
(where <IP_Addr> is the IP address of the management interface of the WLC).
2
Click the Login prompt. The default User Name and Password is admin.
Once logged in properly, a page similar to the one below displays on version 8.1+. All
other versions go directly to the screen in step 4.
3
Click the Advanced button on the 8.1 or later version screens.
721-1001-000-AH.docx
December 2016
10
