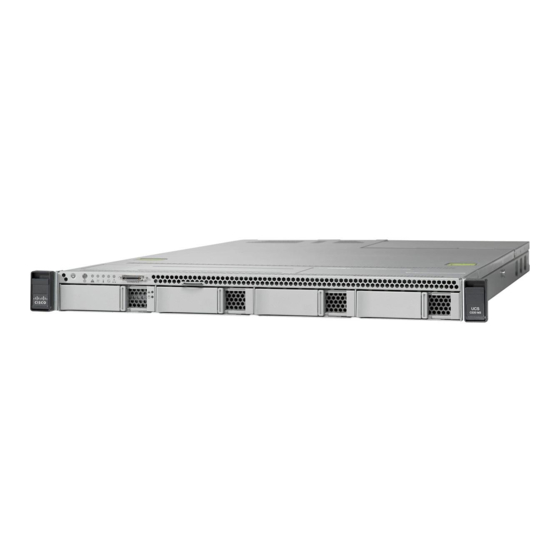
Cisco UCS C240 M3 구성 매뉴얼 - 페이지 28
{카테고리_이름} Cisco UCS C240 M3에 대한 구성 매뉴얼을 온라인으로 검색하거나 PDF를 다운로드하세요. Cisco UCS C240 M3 33 페이지. Nebs server
Cisco UCS C240 M3에 대해서도 마찬가지입니다: 업그레이드 매뉴얼 (10 페이지), 서비스 참고 사항 (11 페이지)

Step 3: Select the virtual drive that you want to migrate. In this example, only one virtual drive is configured, so
when you select Virtual Drives, the virtual drive is displayed automatically, as shown here.
Step 4: In the Virtual Drives pane, select Properties.
Step 5: In the Properties window, select Adv Opers in the Operations section; then click Go.
Step 6: In the Advanced Operations window, select the drive that needs to be migrated and select an option:
Change RAID Level or Change RAID Level and Add Drive.
●
If you select Change RAID Level, select the new RAID level from the drop-down list.
●
If you select Change RAID Level and Add Drive, select the new RAID level from the drop-down list and
select one or more drives to add from the list of drives.
The available RAID levels are limited, depending on the current RAID level of the virtual drive and the number of
drives available. In the example here, there is only one drive group, RAID 0; to migrate it to RAID 1, select RAID 1
from the drop-down list. Select Change RAID Level and Add Drive for this example; then click Go.
© 2014 Cisco and/or its affiliates. All rights reserved. This document is Cisco Public.
Page 28 of 33
